
Rabbitgoo Guarantee

You have 30 days to return for a refund or exchange once for free. Any quality issues, we'll cover the return or exchange.
Discover our best sellers
-
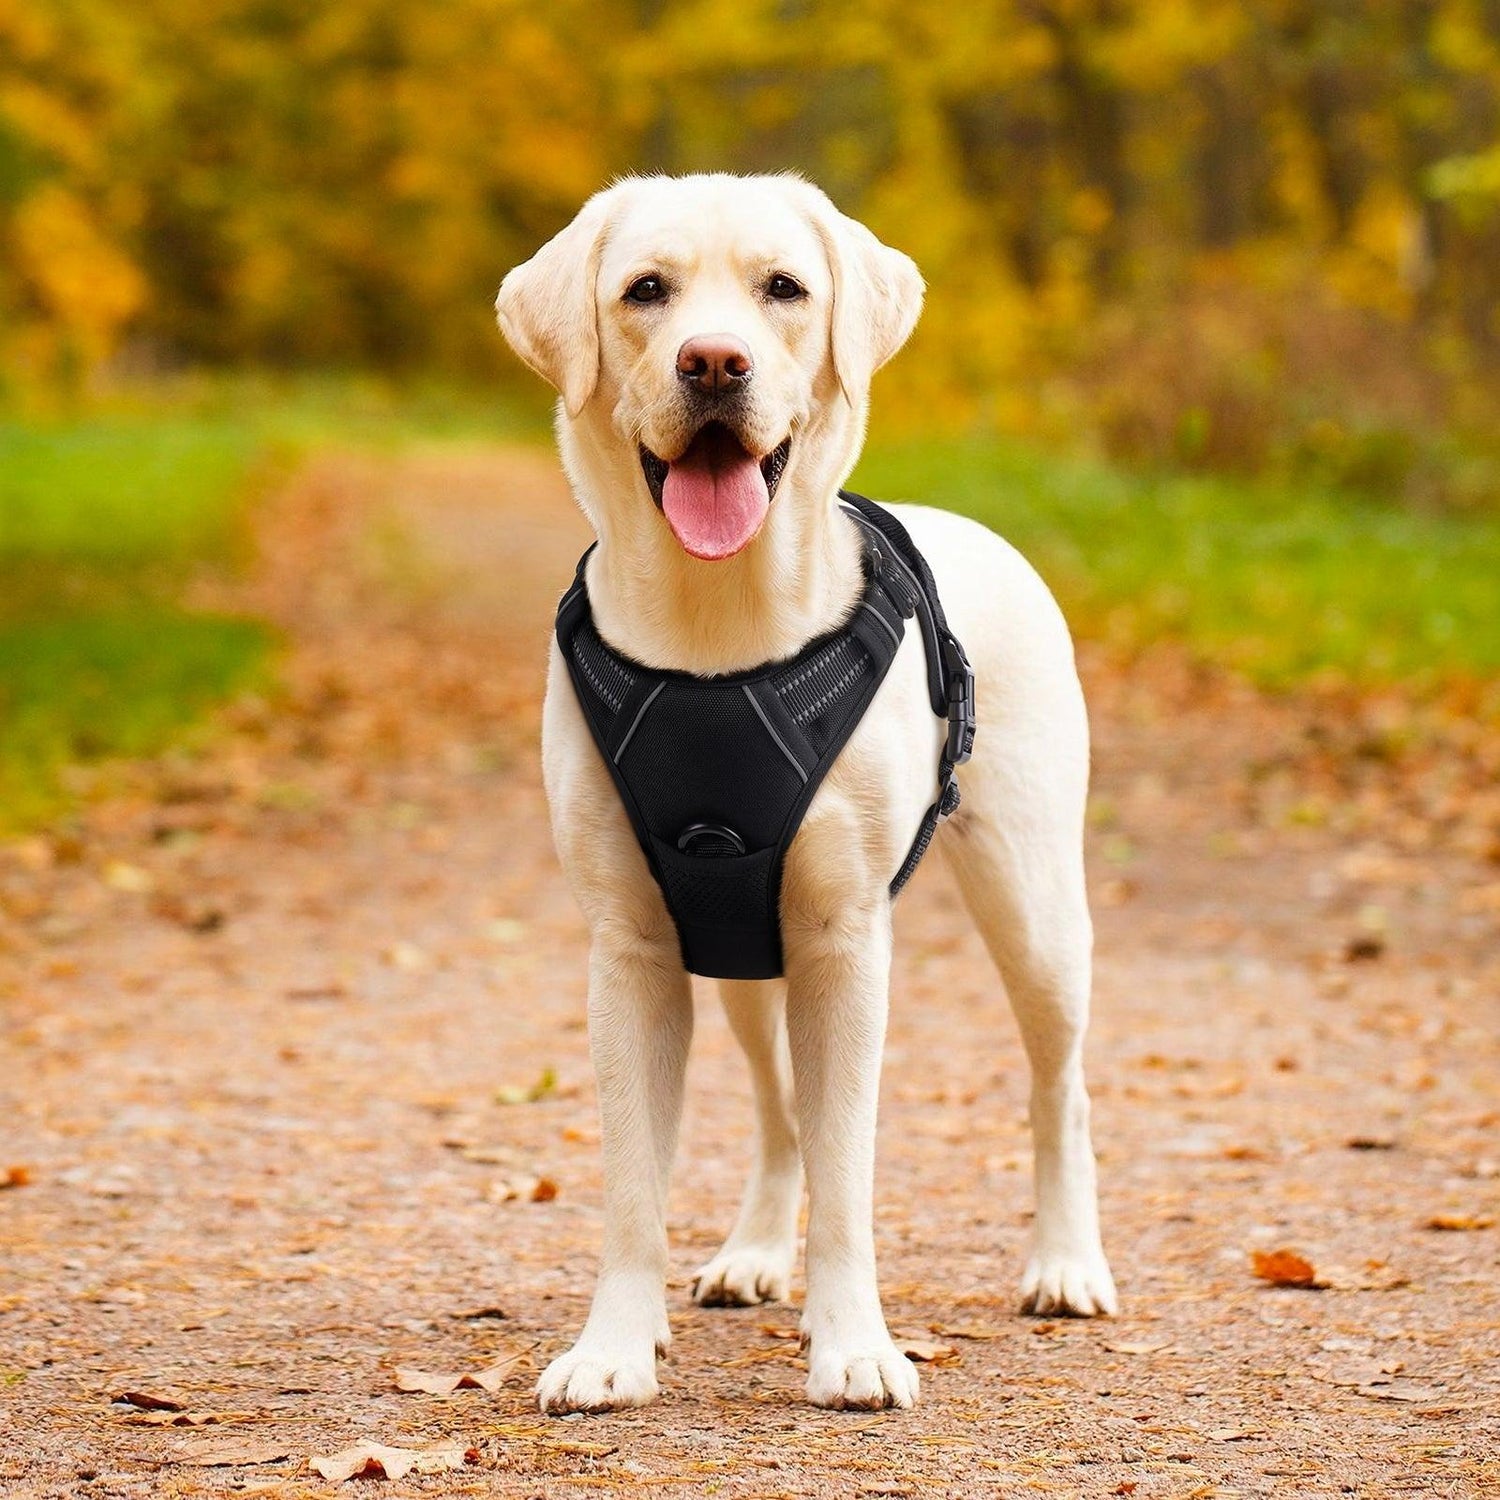
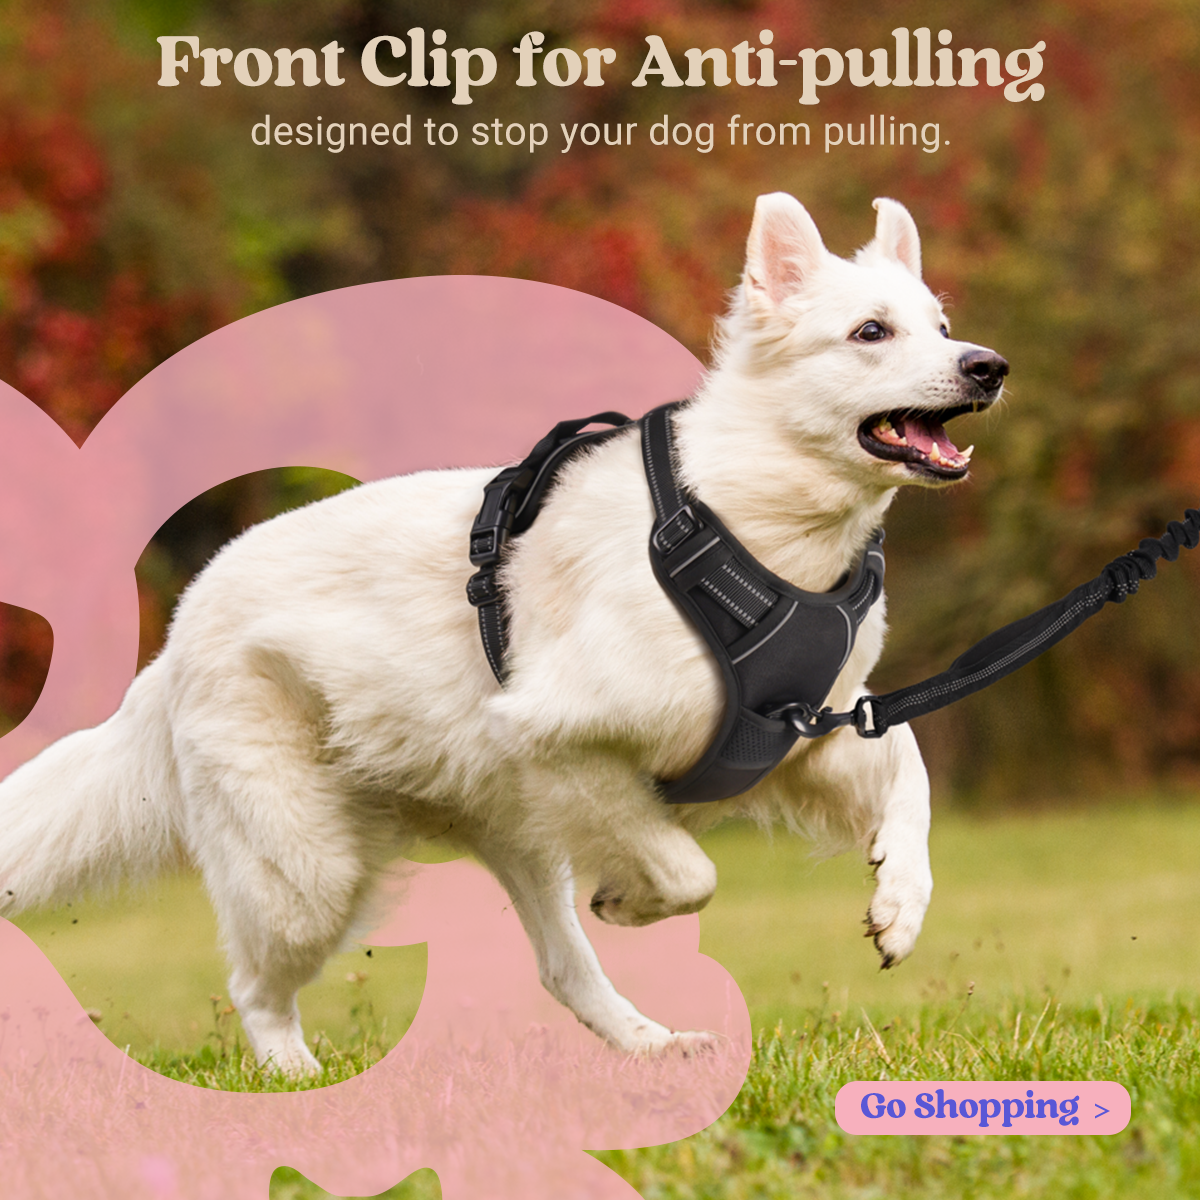
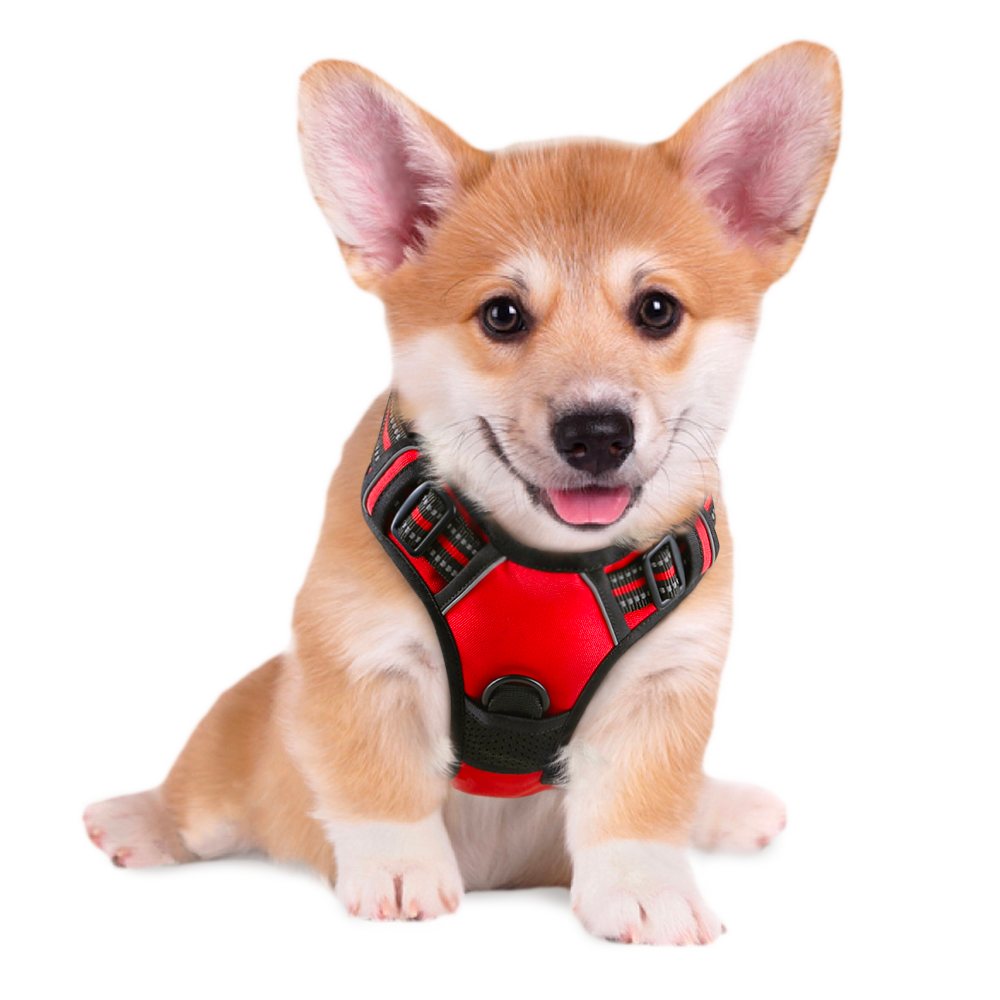
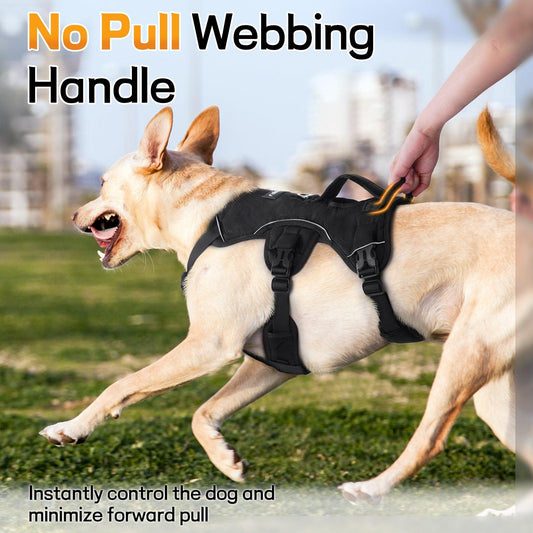
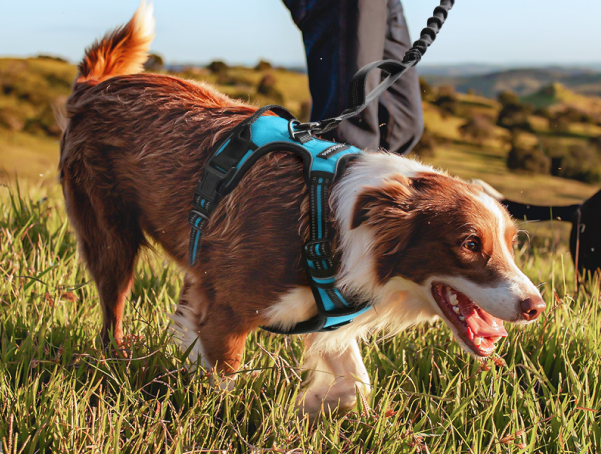
Adjustable Reflective Dog Harness with 3 Buckles
Regular price $20.99Regular priceUnit price per$34.99Sale price $20.99Sale -
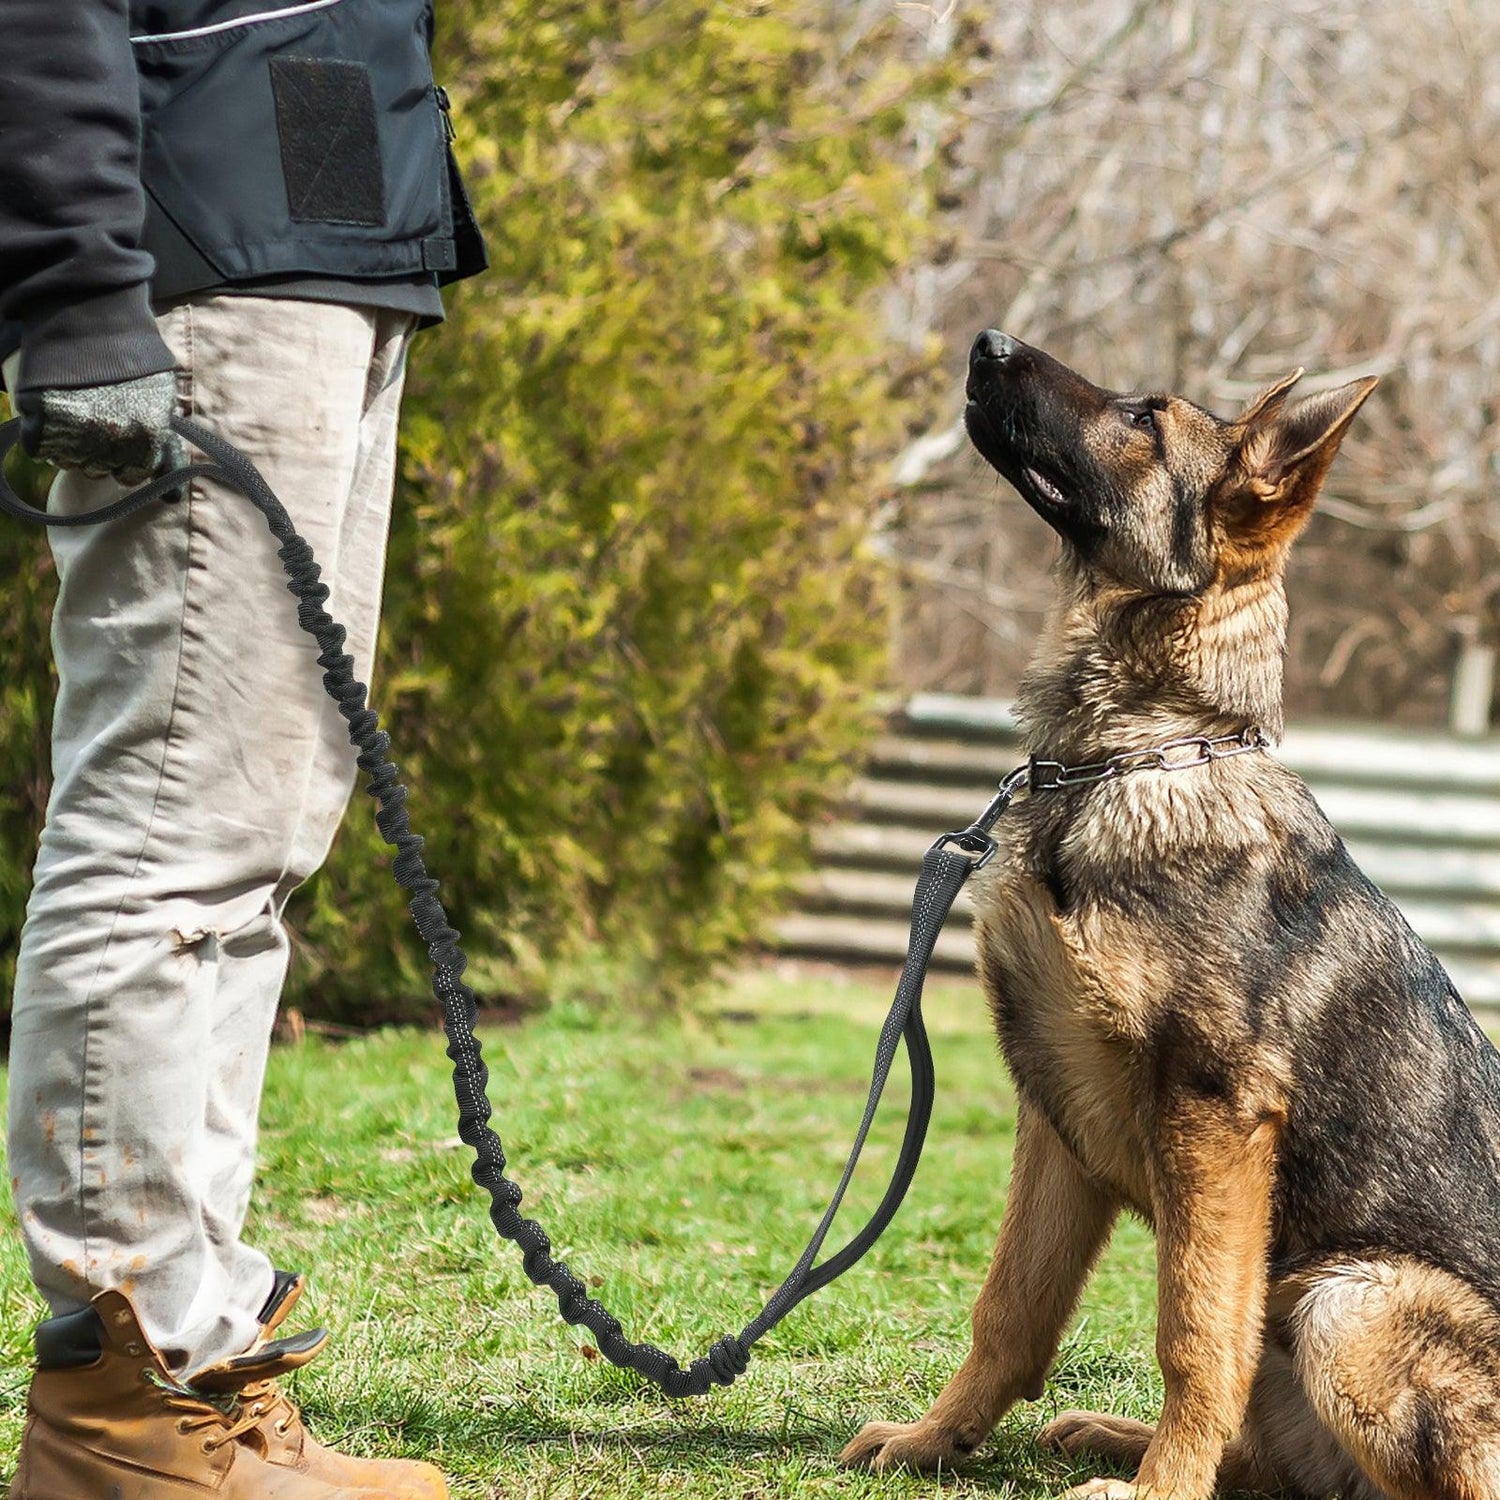
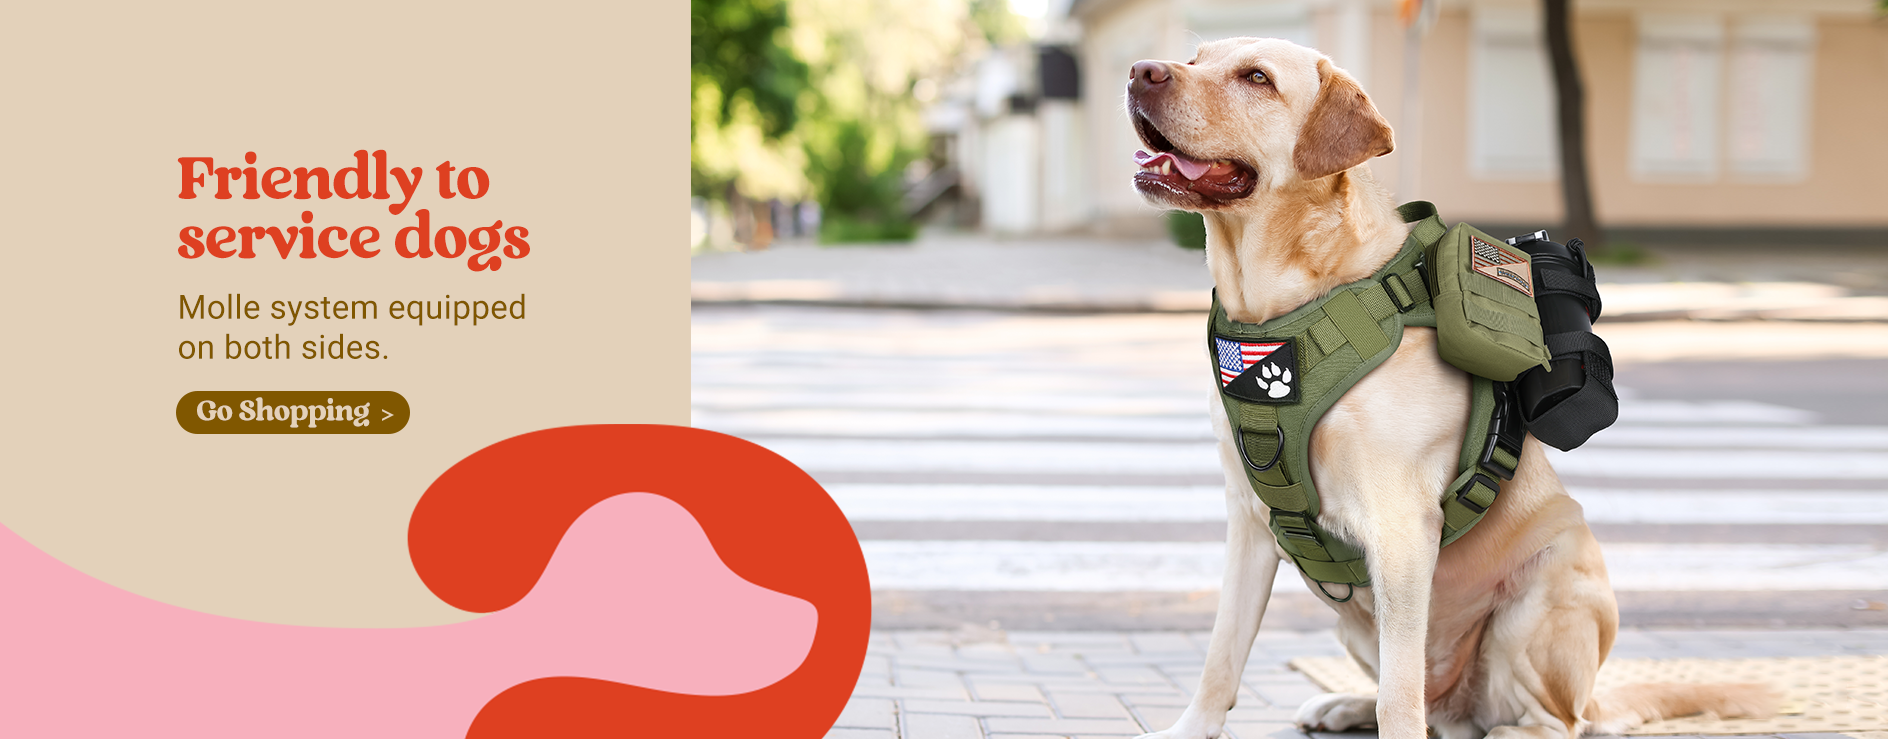
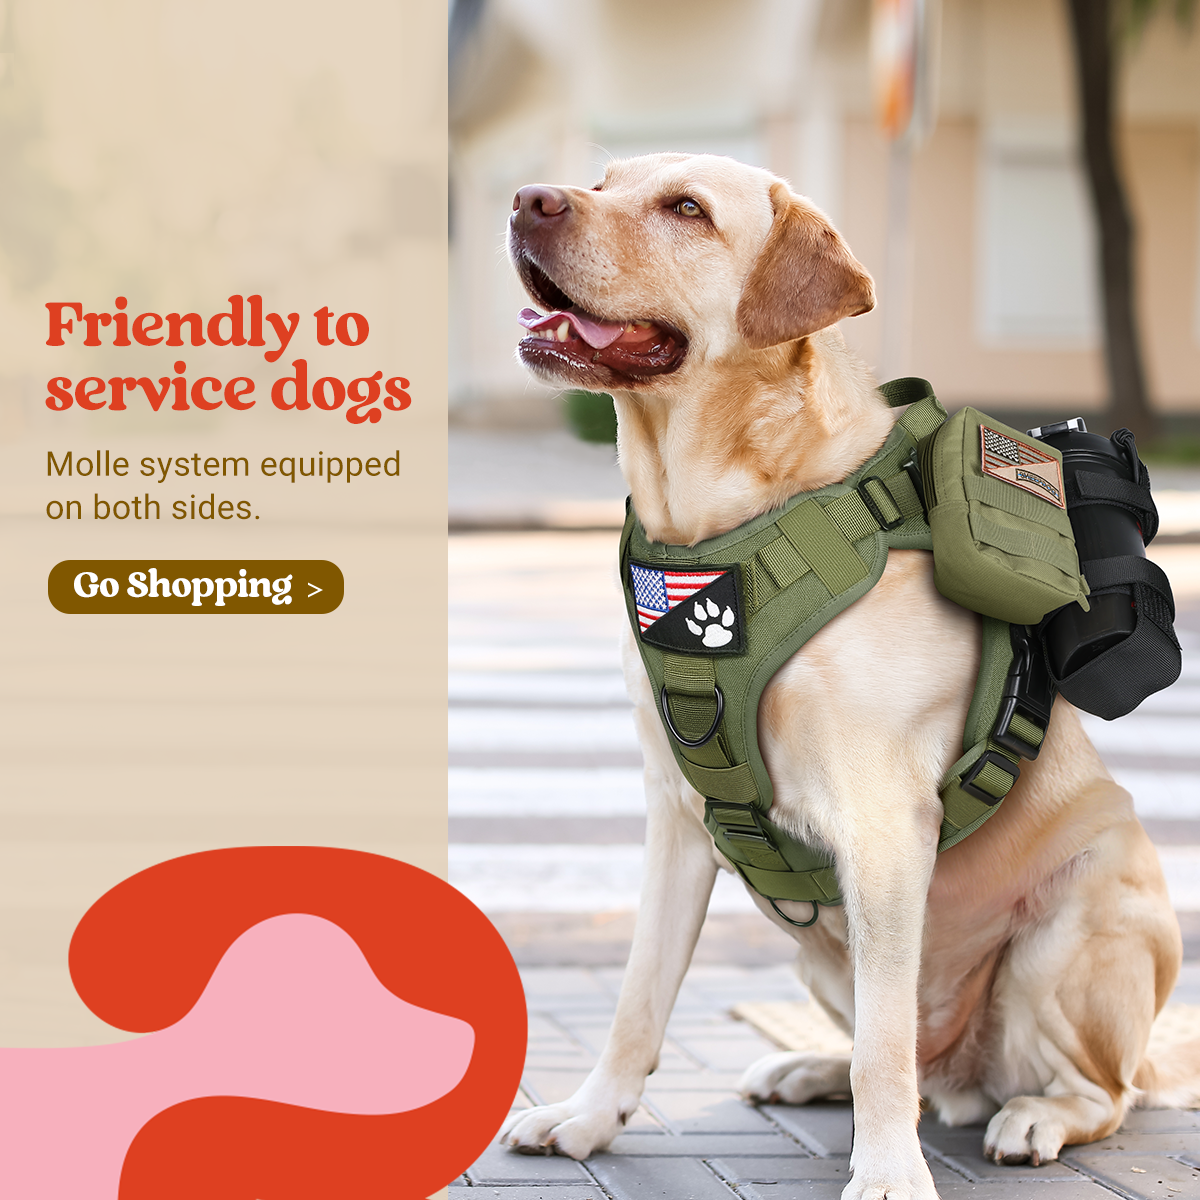
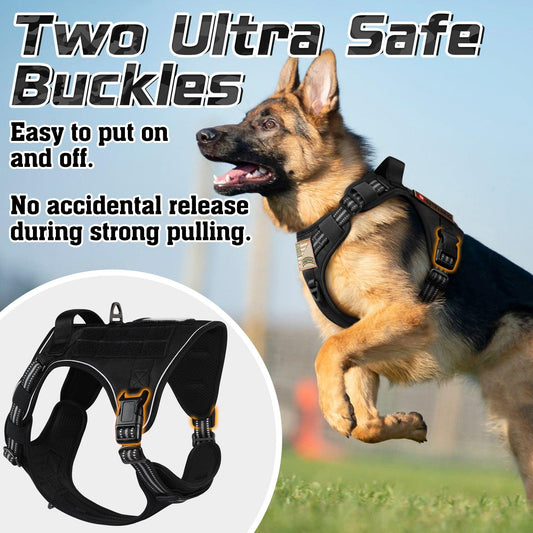
Escape Proof Tactical Dog Vest Harness
Regular price $20.98Regular priceUnit price per$22.99Sale price $20.98Sale -
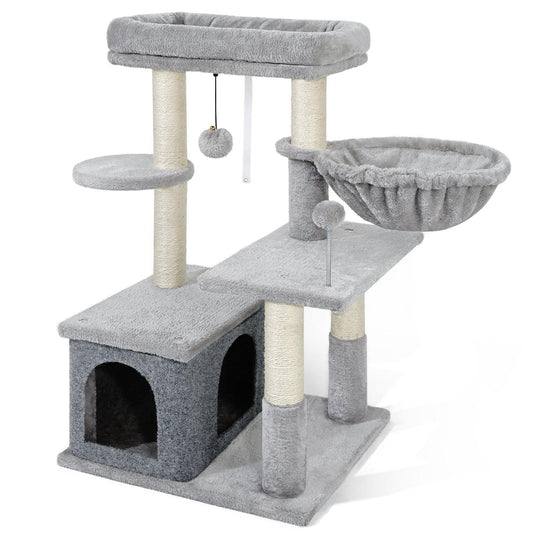
Rabbitgoo 33" Cat Tree for Indoor Kittens
Regular price $49.99Regular priceUnit price per$66.98Sale price $49.99Sale -
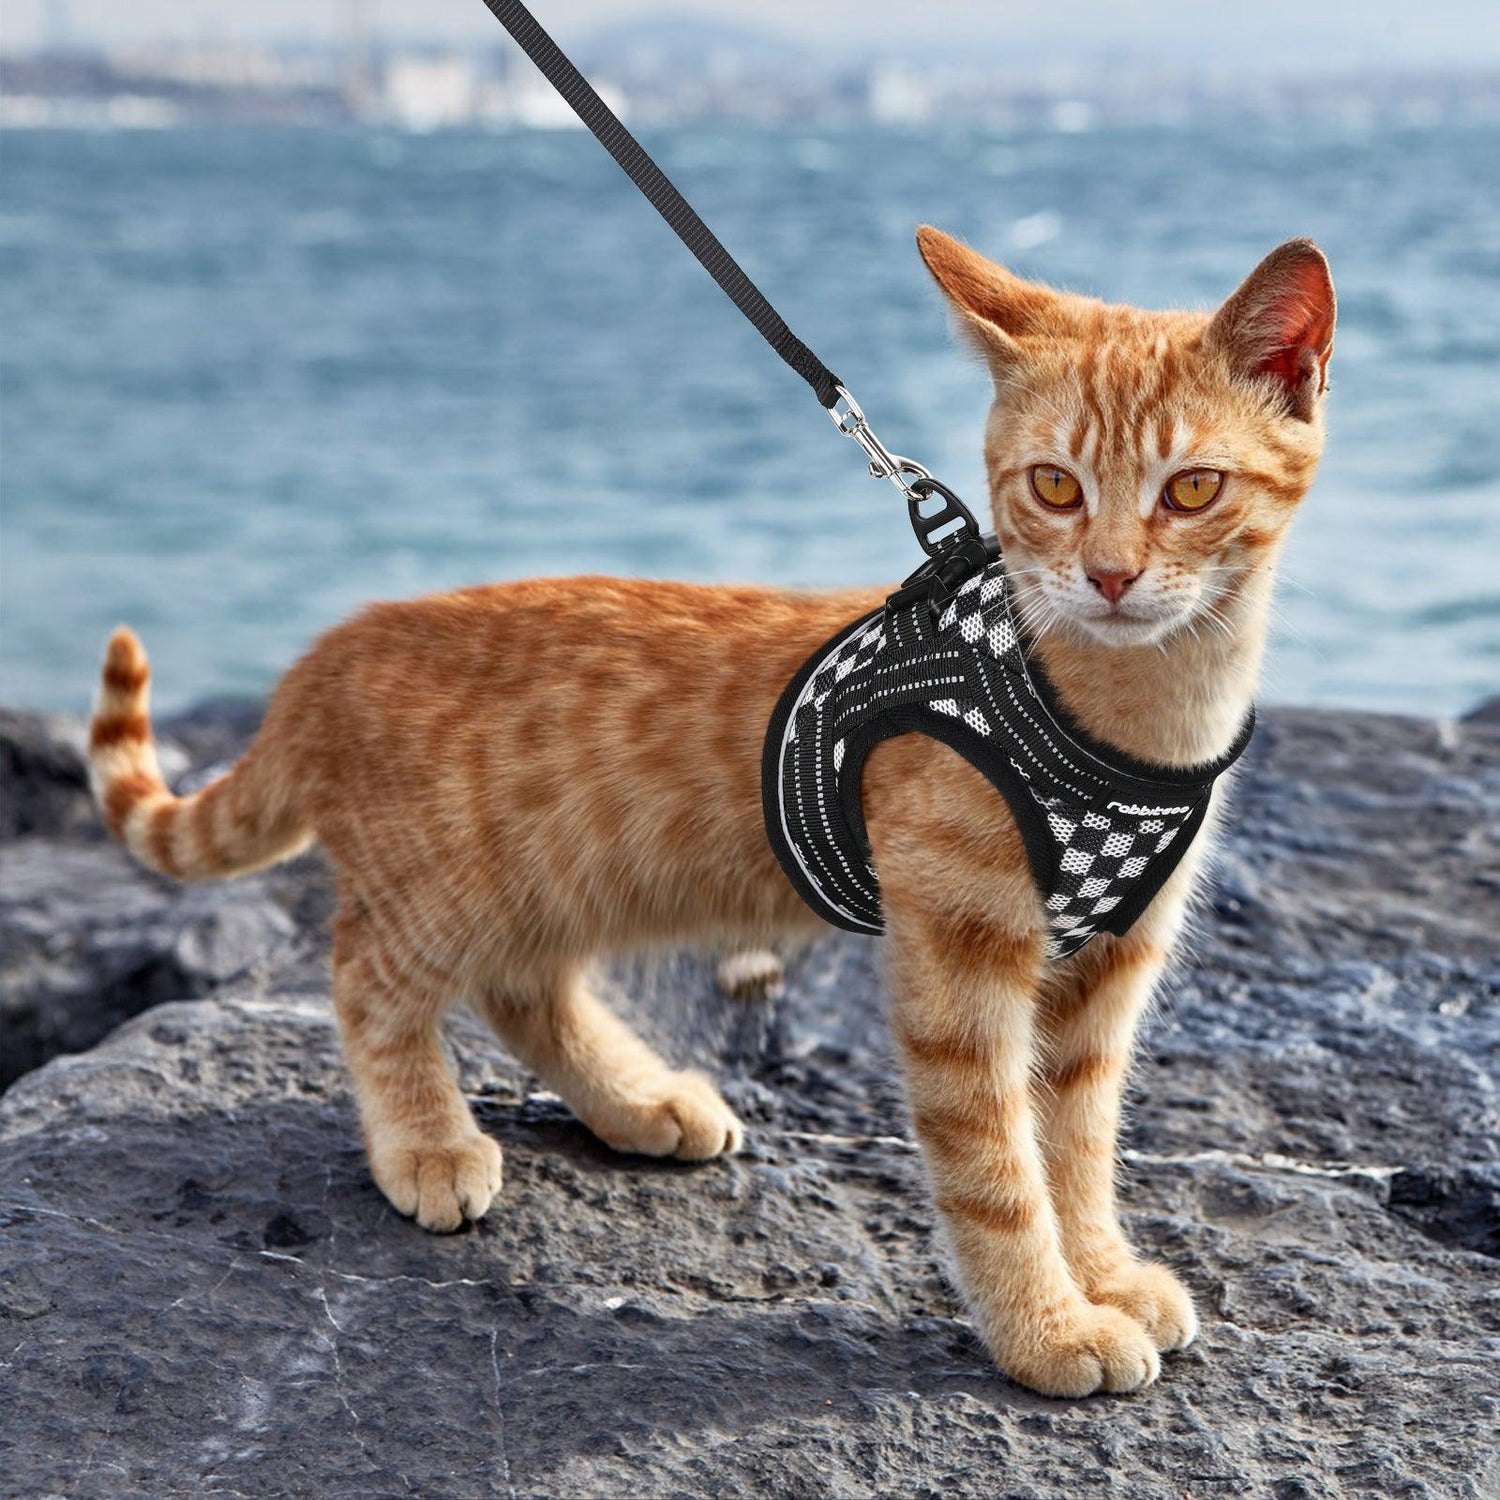
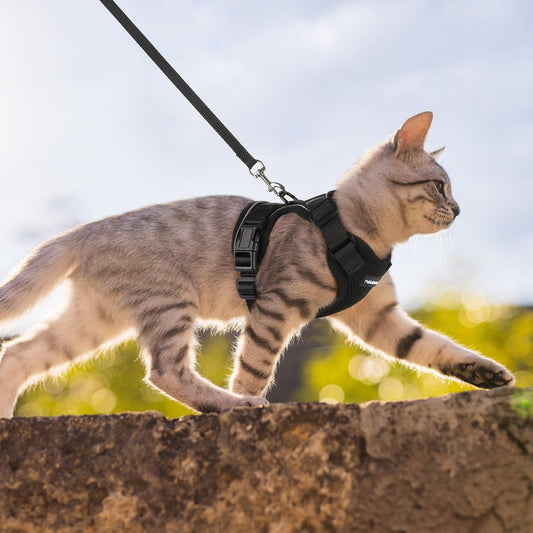
Rabbitgoo Adjustable Cat Harness and Leash Set
Regular price $10.06Regular priceUnit price per$14.98Sale price $10.06Sale -
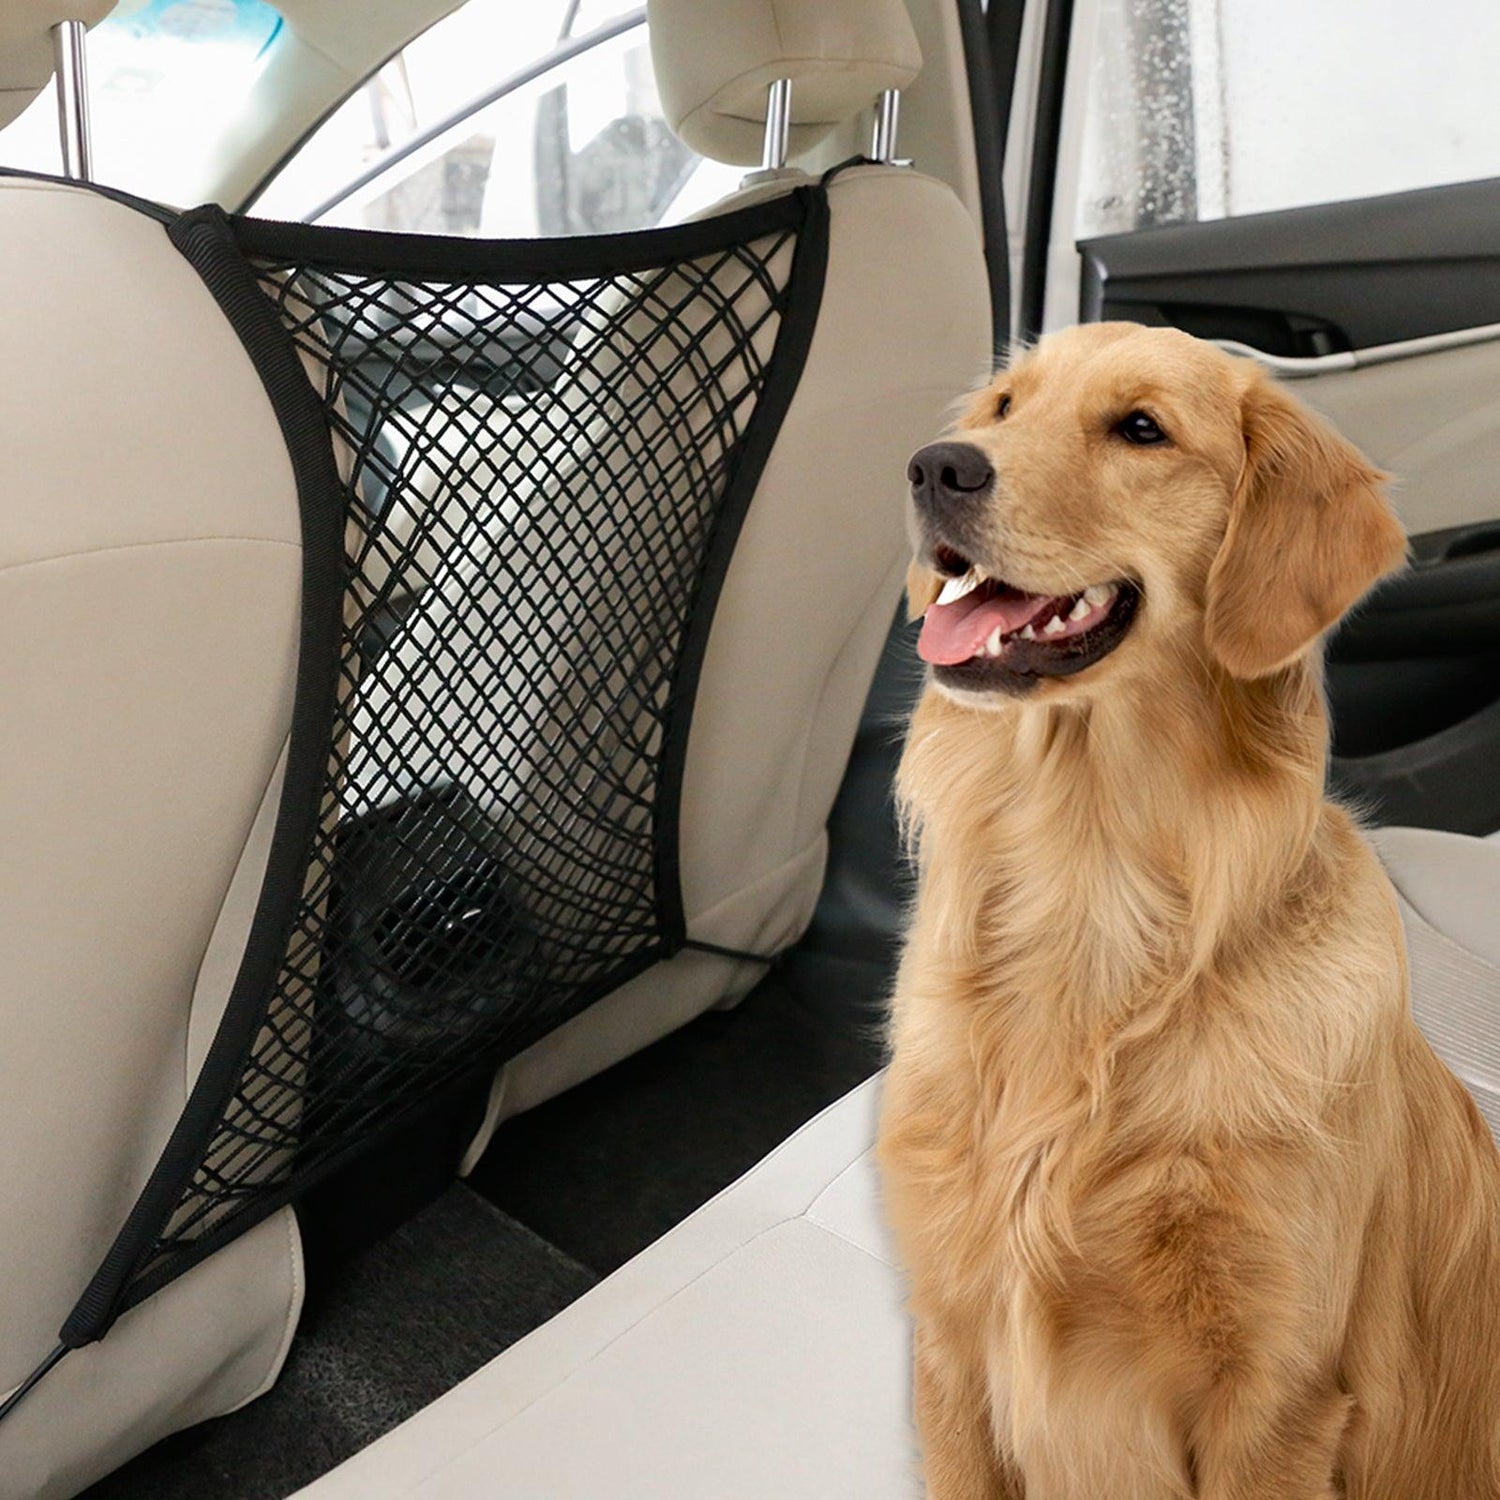
Rabbitgoo Adjustable Dog Car Barrier
Regular price $44.98Regular priceUnit price per -
Rabbitgoo Dog Car Net Barrier
Regular price $11.99Regular priceUnit price per$17.98Sale price $11.99Sale -
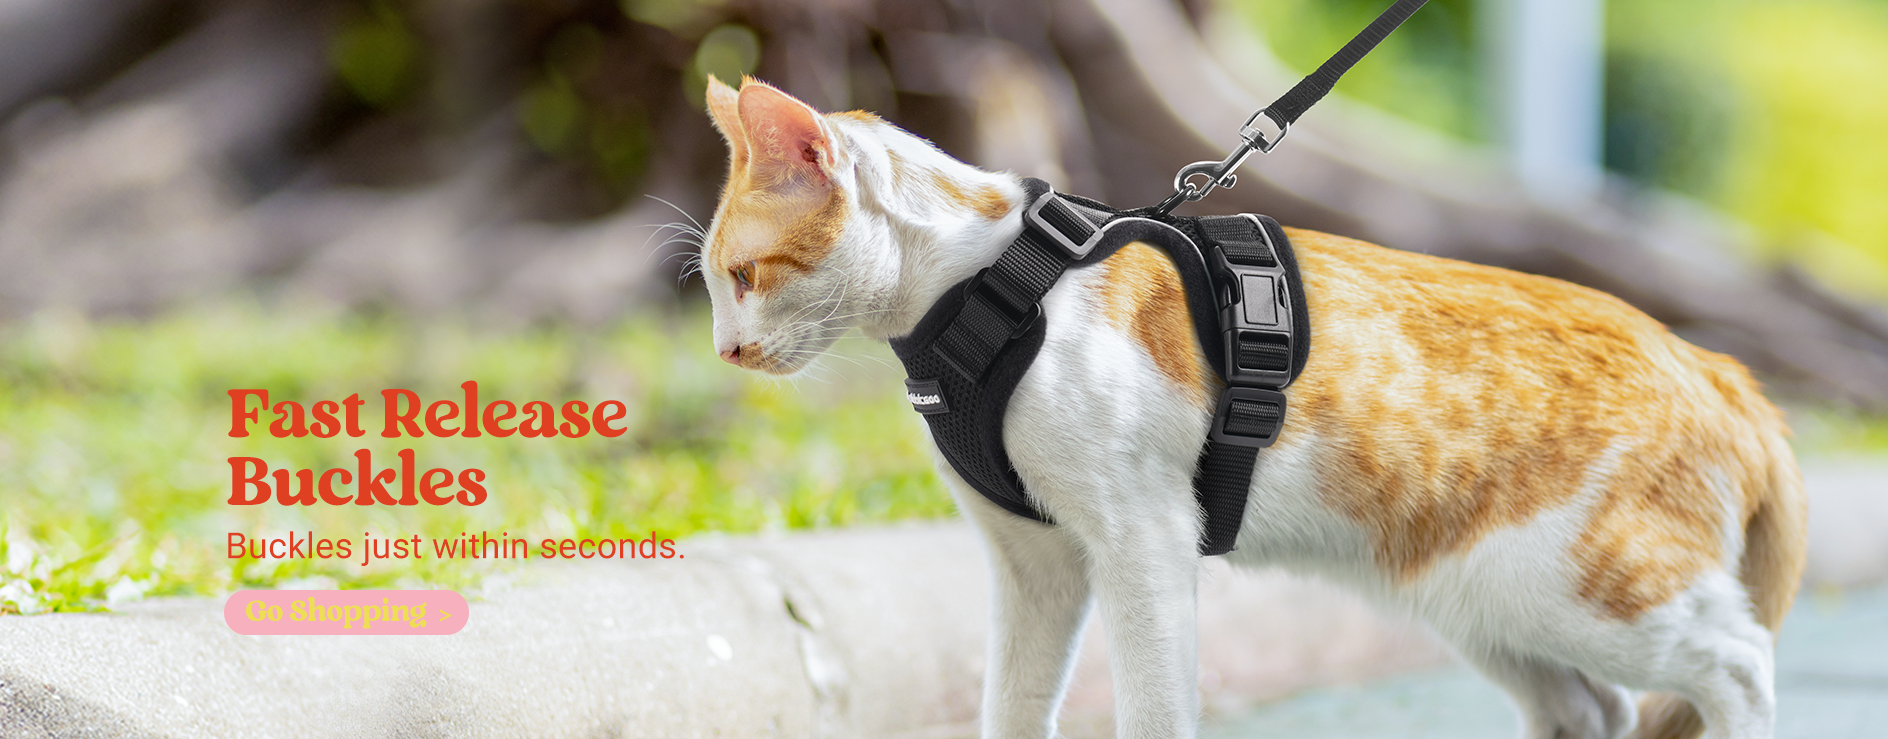
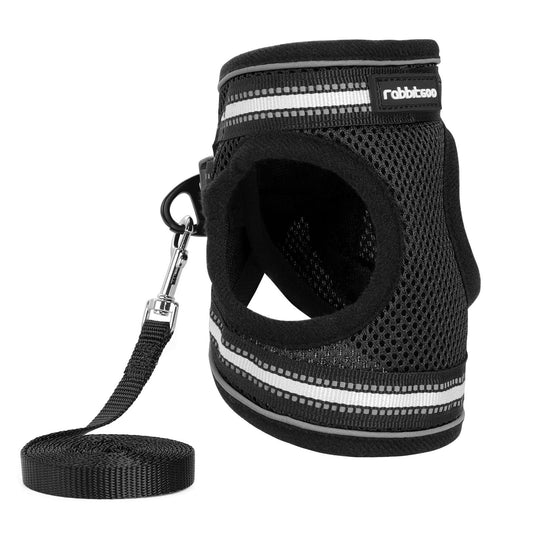
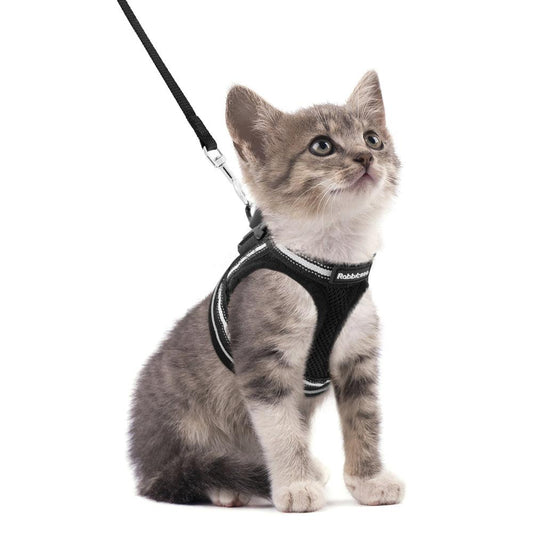
Rabbitgoo Escape Proof Cat Harness and Leash Set, with Reflective Strip
Regular price $12.98Regular priceUnit price per$16.98Sale price $12.98Sale -
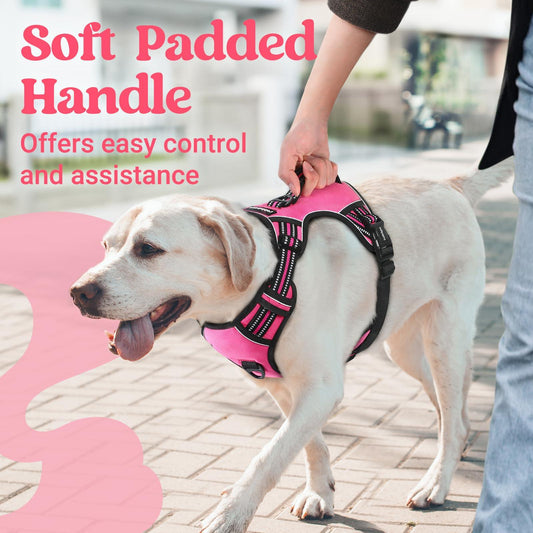
Rabbitgoo Large Dog Harness with Handle for Lifting
Regular price $27.99Regular priceUnit price per$42.99Sale price $27.99Sale


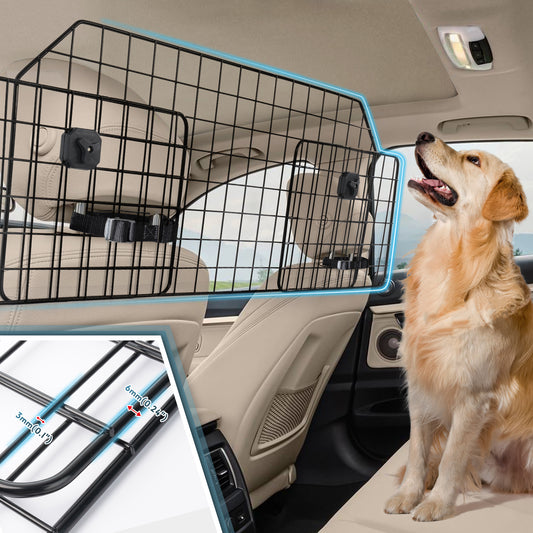


Buckle up for new adventures
Embark on worry-free journeys with Rabbitgoo Pet Car Barrier,designed for both safety and comfort, our barrier provides a reliable partition to keep your pet safe and happy during every drive. your perfect travel companion.
See what’s new
-
Rabbitgoo Adjustable Cat Harness and Leash Set
Regular price $10.06Regular priceUnit price per$14.98Sale price $10.06Sale -
Rabbitgoo Escape Proof Cat Harness and Leash Set, with Reflective Strip
Regular price $12.98Regular priceUnit price per$16.98Sale price $12.98Sale -
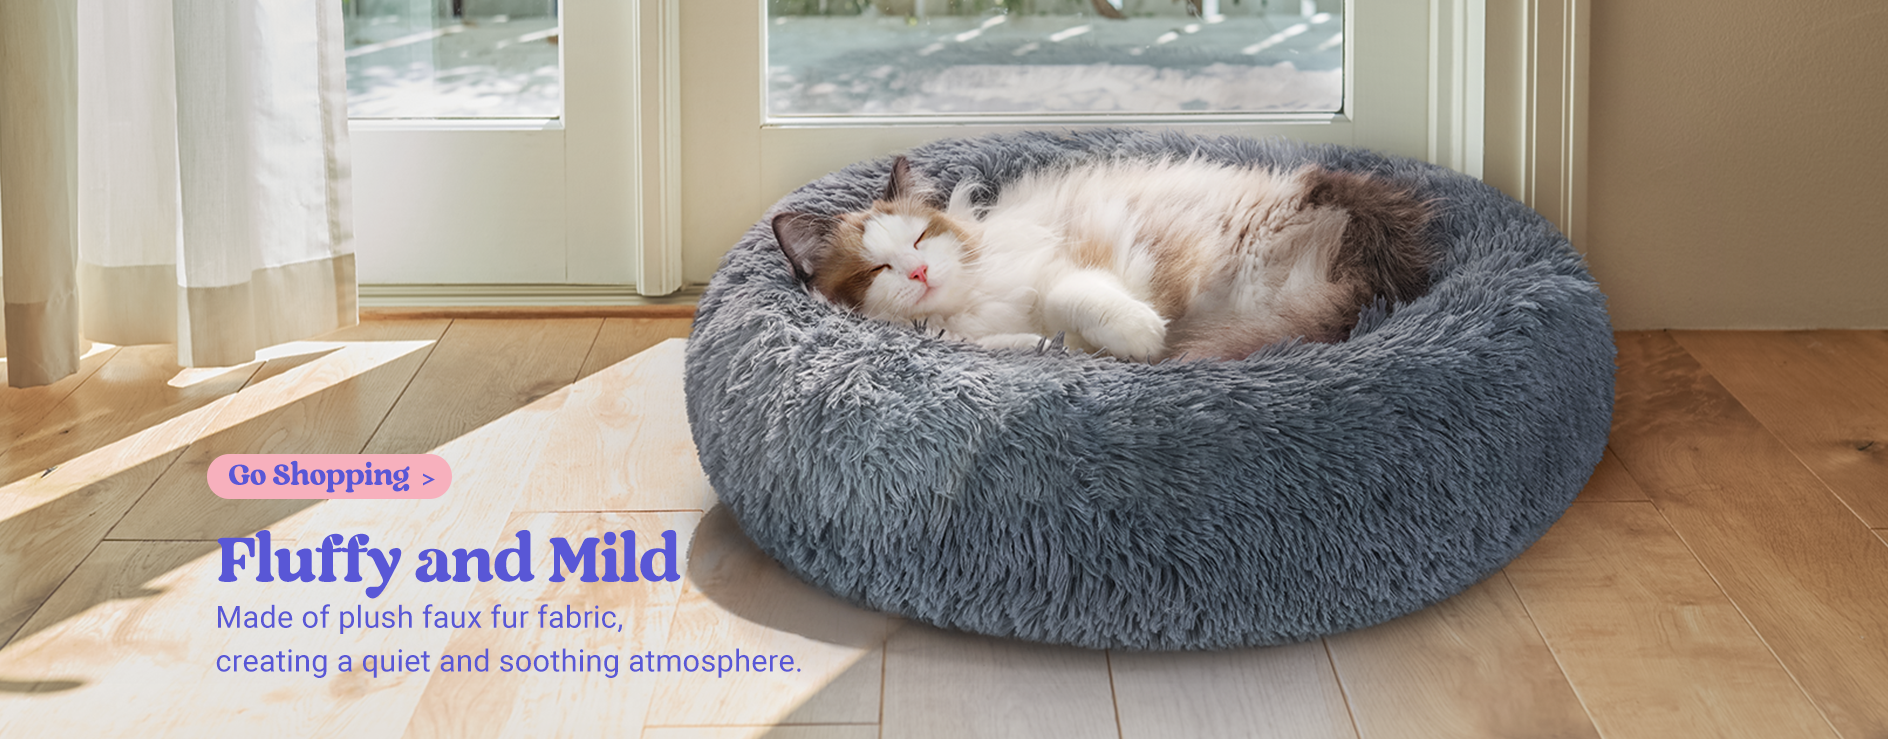
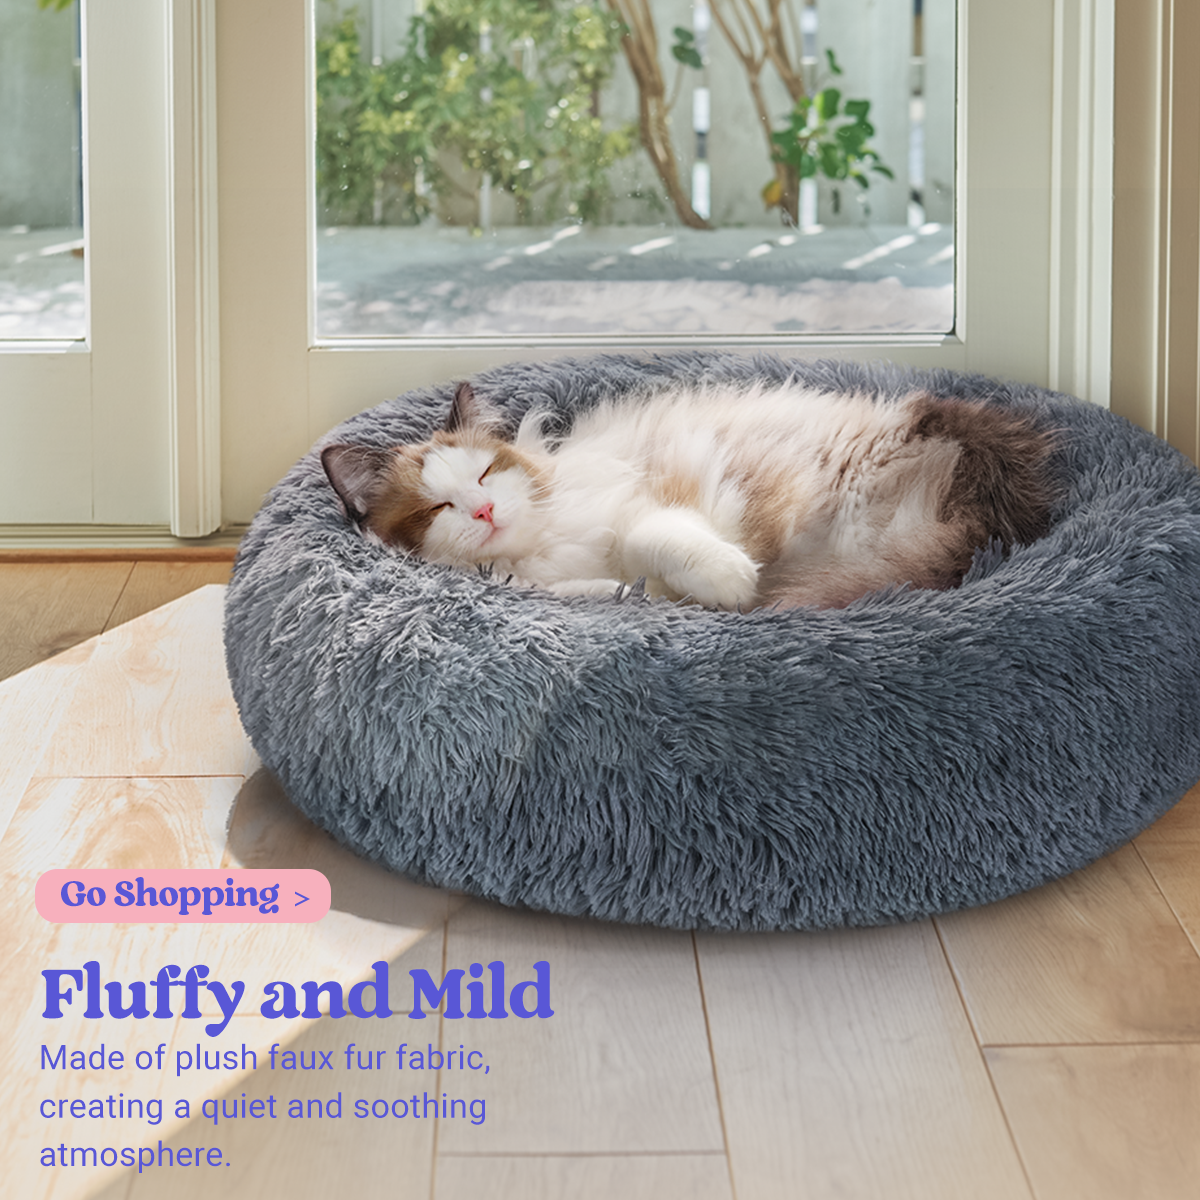
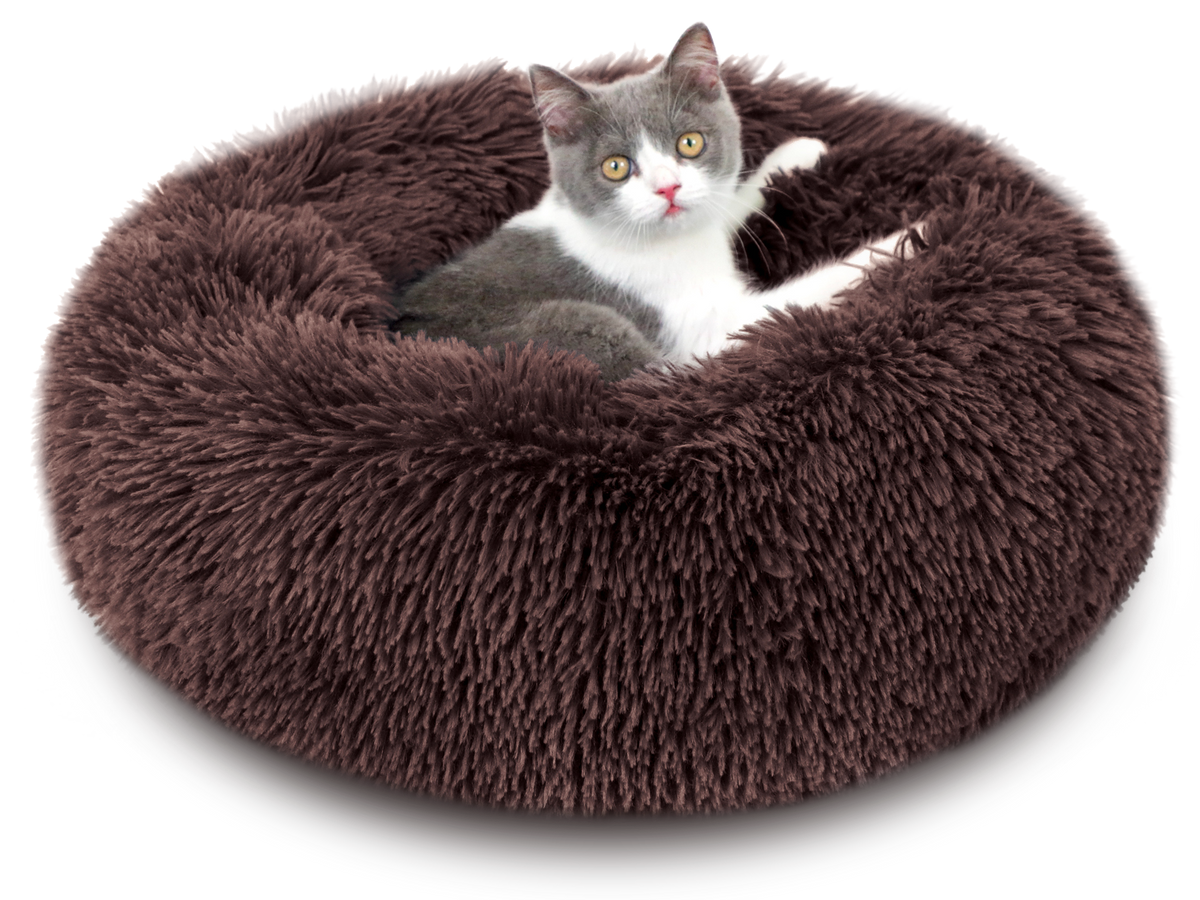
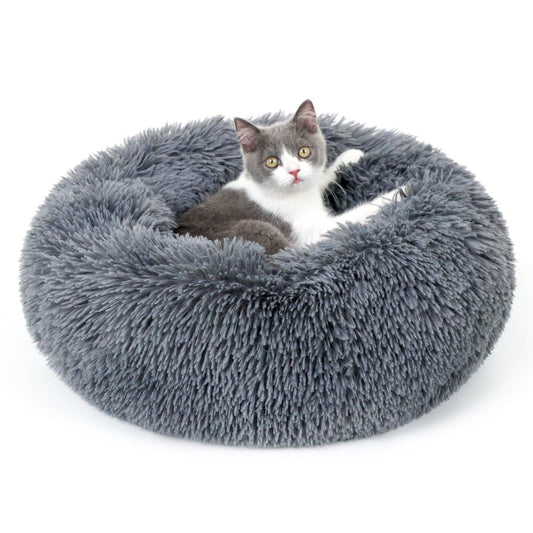
Soft Plush Donut Cuddler Cushion Pet Bed
Regular price $17.99Sale price $17.99Unit price perSale -
Rabbitgoo 33" Cat Tree for Indoor Kittens
Regular price $49.99Regular priceUnit price per$66.98Sale price $49.99Sale

Rabbitgoo
Love Pets Like Kids
We're a pet-loving family.Our products celebrate the unique bond with your pets. Choosing Rabbitgoo means selecting a family supporting your journey, rooted in the joy of shared companionship and adventures.