

Front-Clip Harness Training: A 7-Day Loose-Leash Routine
Clip the leash to the dog’s chest and pulling often feels more manageable right away. The easy mistake is assuming the hardware has done the training. A front attachment can help turn the dog back toward you, but the lasting lesson still comes from what happens next.
This seven-day front clip harness training routine uses one simple pattern: a loose leash keeps the walk moving, a tight leash pauses progress, and checking in earns something worthwhile. Sessions can be as short as five to ten minutes. Treat the days as lesson names, not deadlines—repeat one for as long as your dog needs before making the environment harder.
Before day one: fit and equipment
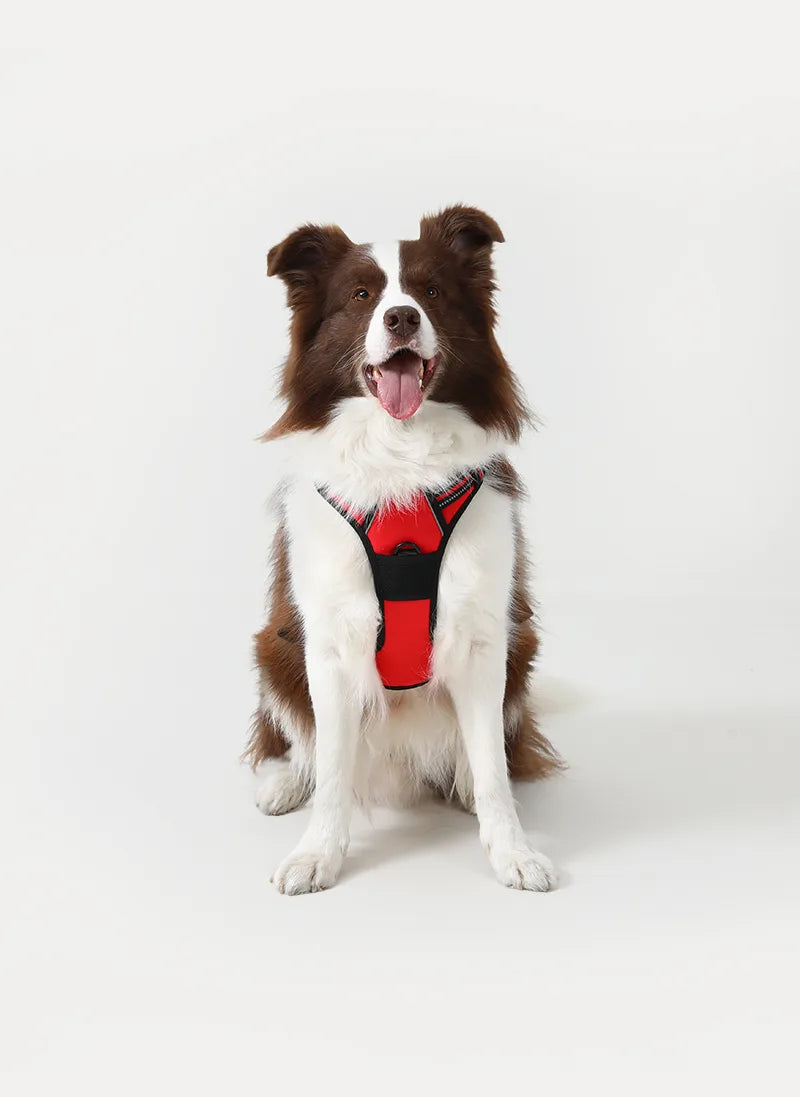
Adjust the harness so it stays centered when light leash pressure is applied. The chest panel should rest over the breastbone, straps should lie flat, and the front attachment should not hang toward one armpit. Run the five checks in How Tight Should a Dog Harness Be?.
Use a standard fixed-length leash that is easy to hold with a soft bend. Avoid wrapping it around your hand. Prepare pea-sized rewards your dog can eat quickly. Choose a quiet indoor space or low-distraction outdoor area for the first sessions.
Day 1: reward the check-in
Stand still with the leash loose. The moment your dog looks toward you, mark the behavior with a consistent word such as “yes” and deliver a reward near your leg. Take one or two steps, pause, and reward another check-in.
By the end of this lesson, you are looking for the first small shift: your dog starts checking where you are without being prompted. Reward that moment before pulling begins.

A quiet check-in around a reward is a better starting point than waiting for the leash to go tight.
Day 2: build two to five loose steps
Start walking in a quiet area. Reward after two loose-leash steps, then after three, then vary the number. Keep rewards close to your body so your dog does not need to cut across your path.
If the leash tightens, stop moving. Wait for your dog to turn or step back enough to create slack, mark it, and continue. Avoid jerking the leash; the front attachment should redirect through steady, light guidance.
Day 3: practice turns
Make gentle left and right turns before reaching the end of the leash. Say your dog’s name or use a turn cue, move, and reward when the dog follows. Add wide U-turns so changing direction becomes familiar rather than an emergency response.
You are ready to move on when the dog can follow an easy change in direction and the harness stays reasonably centered. If the chest panel swings toward an armpit, pause and recheck the fit rather than steering harder.
Day 4: add a controlled distraction
Work at a distance from a mild distraction such as a family member standing still, a toy on the ground, or activity across a quiet street. Reward check-ins before the dog reaches the end of the leash.
If your dog cannot eat or respond, increase distance. Training succeeds when the dog can think—not when the dog is held close to the trigger.
Day 5: use sniffing as a reward
Choose a safe sniffing spot. Ask for several loose steps, then use a release cue and walk with your dog to the spot. This teaches that calm leash behavior can earn access to the environment, not only food.
Keep the release clear. During free sniffing, allow more leash length while maintaining safety; before moving on, gather the leash smoothly and restart the walking cue.
Day 6: extend duration, not difficulty
Combine check-ins, turns, and sniff rewards on a slightly longer route in a familiar location. Continue to reward before the leash tightens. If performance drops, shorten the route rather than removing all rewards.
A useful target is several comfortable one- to two-minute walking blocks, with sniff breaks in between. There is no benefit in stretching the route after the dog has stopped being able to respond.
Day 7: rehearse a real walk
Choose a normal route at a quieter time. Begin with an easy warm-up near home. Use distance and turns to manage distractions, and keep the success criteria realistic. End while your dog is still able to respond.
Afterward, jot down where pulling came back. Was it near another dog, beside the car, on the way home, or simply after ten minutes? That detail is more useful for planning next week than calling the whole walk a success or failure.
What the front clip is doing
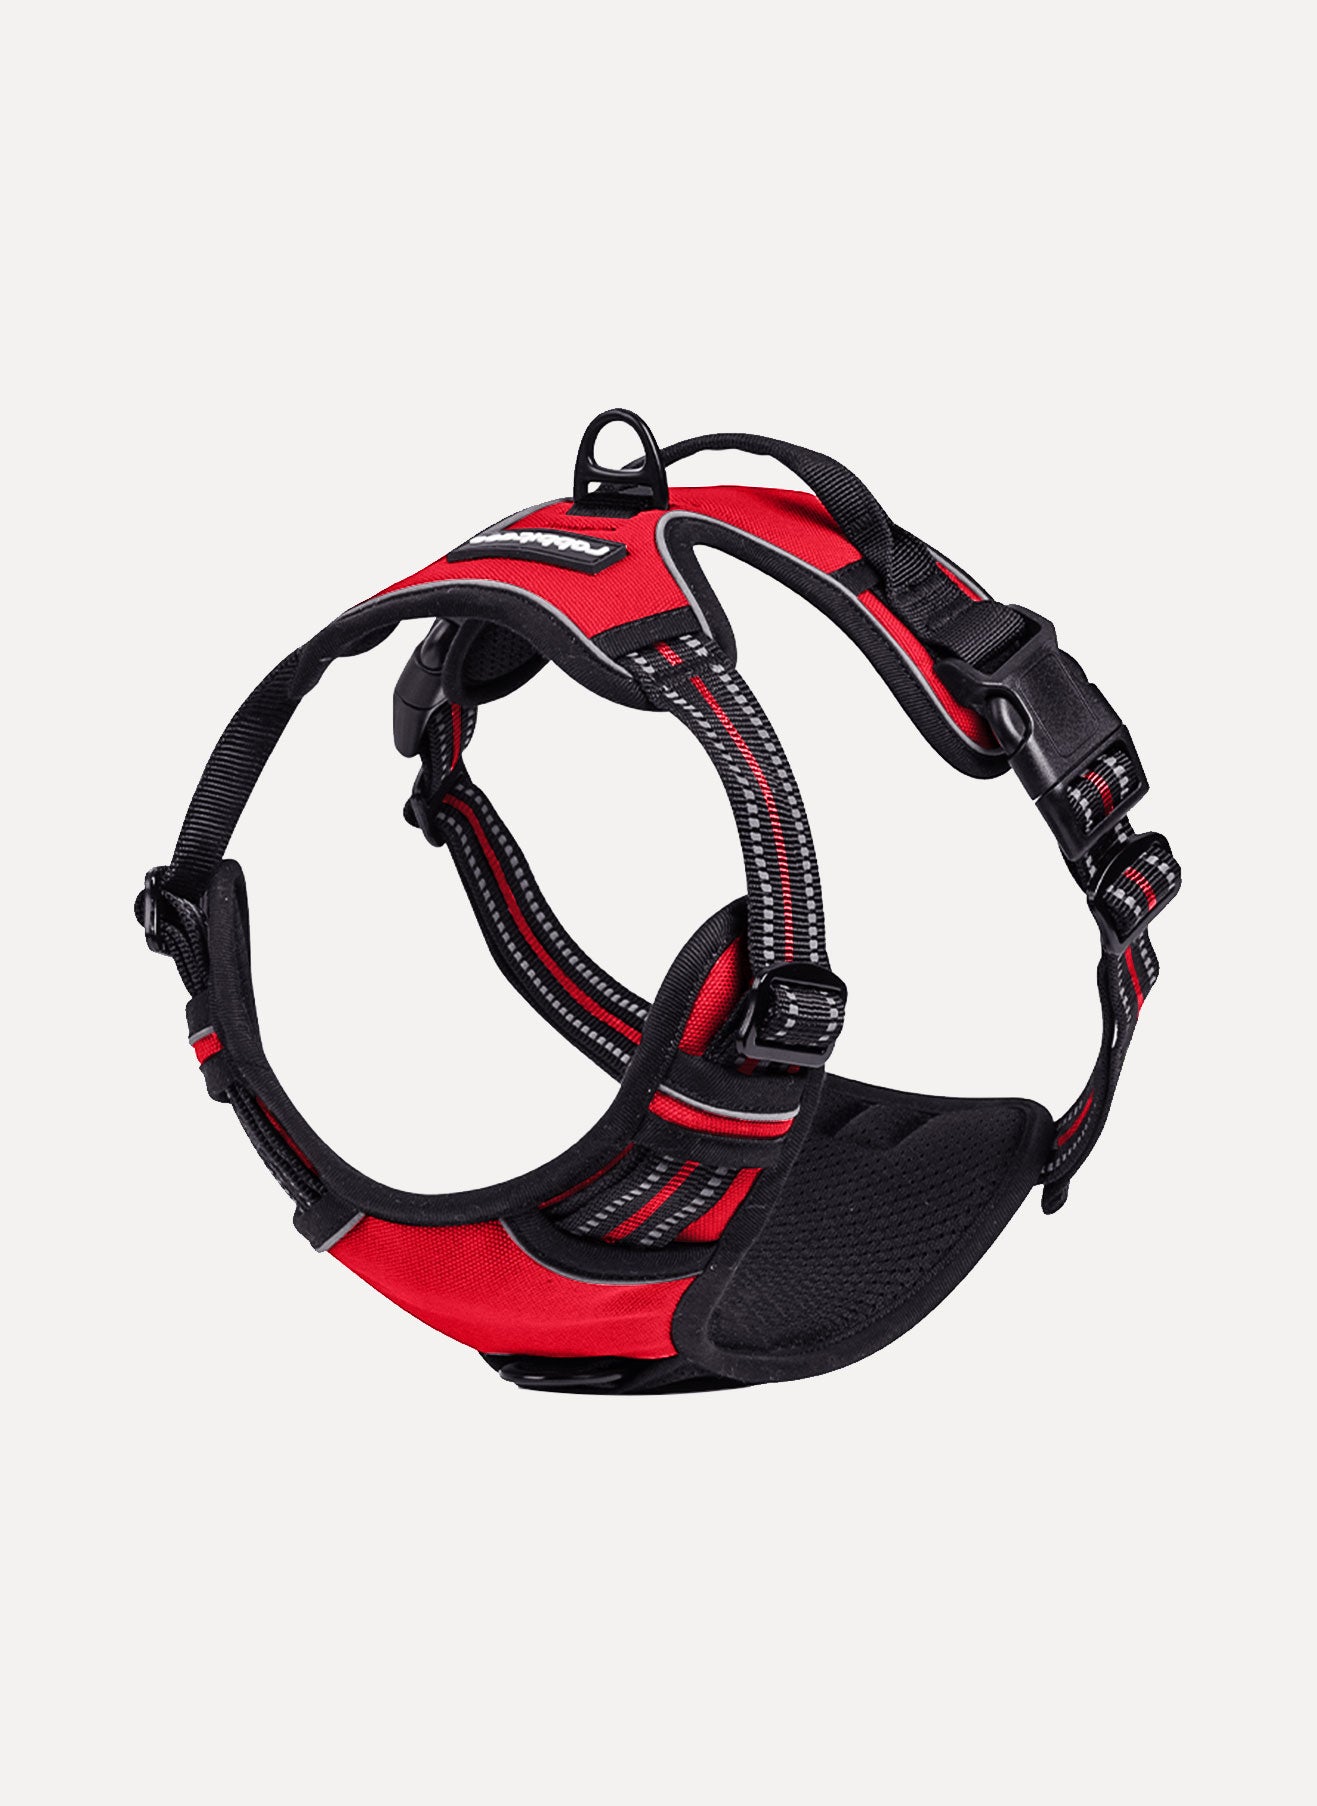
When a dog pulls into a front attachment, leash tension can turn the chest toward the handler rather than allowing all force to continue straight ahead. This may make redirection easier, but it does not teach the behavior by itself. Timing, rewards, distance, and repetition create the learning.
Compare the handling differences in Front-Clip vs. Back-Clip Dog Harnesses, and set realistic expectations with What a No-Pull Harness Can—and Cannot—Do.
Common training problems
The harness twists during turns
Check balanced strap length and overall size. Use lighter leash pressure and wider turns. If twisting continues, follow our harness twisting troubleshooting guide.
The dog pulls harder after rewards stop
The behavior may not be fluent in that environment. Return to more frequent rewards and reduce distraction, then vary rewards gradually.
The dog bites the leash or harness
Shorten the session and check fit. Reward a simple alternative such as eye contact or a hand target. Persistent biting may indicate frustration, discomfort, or over-arousal.
The dog is too excited to take food
Create more distance, choose a quieter time, or begin indoors. The environment is currently more difficult than the dog’s skill level.
Front-clip training FAQ
Should the leash stay tight so the front clip works?
No. The training goal is a relaxed leash. Use gentle pressure only when needed and release it as the dog reorients.
Can I switch to the back clip?
Yes. Many owners use the front attachment for focused training and the back attachment for relaxed walking once leash skills are stronger. Make the rules clear and consistent.
What harness can I use for this routine?
A well-fitted model with an accessible front attachment can support the plan. See the Rabbitgoo Classic Fit No Pull Dog Harness and confirm the exact size chart before choosing.