

Dog Escape-Risk Checklist Before the First Walk
A new harness can look secure in the hallway and behave very differently when a dog lowers the head, plants all four feet, and backs toward home. Before that first walk, spend five minutes checking what happens beyond the buckle.
This dog harness escape proof checklist covers the exact size, panel position, hardware, full-range movement, gentle backward pressure, and leash handling. It can reveal a loose opening, misplaced leg, or twisting panel before outdoor distractions add pressure. No harness can guarantee that a dog will never escape, so pair the equipment check with supervision, gradual acclimation, and a sensible first-walk setting.
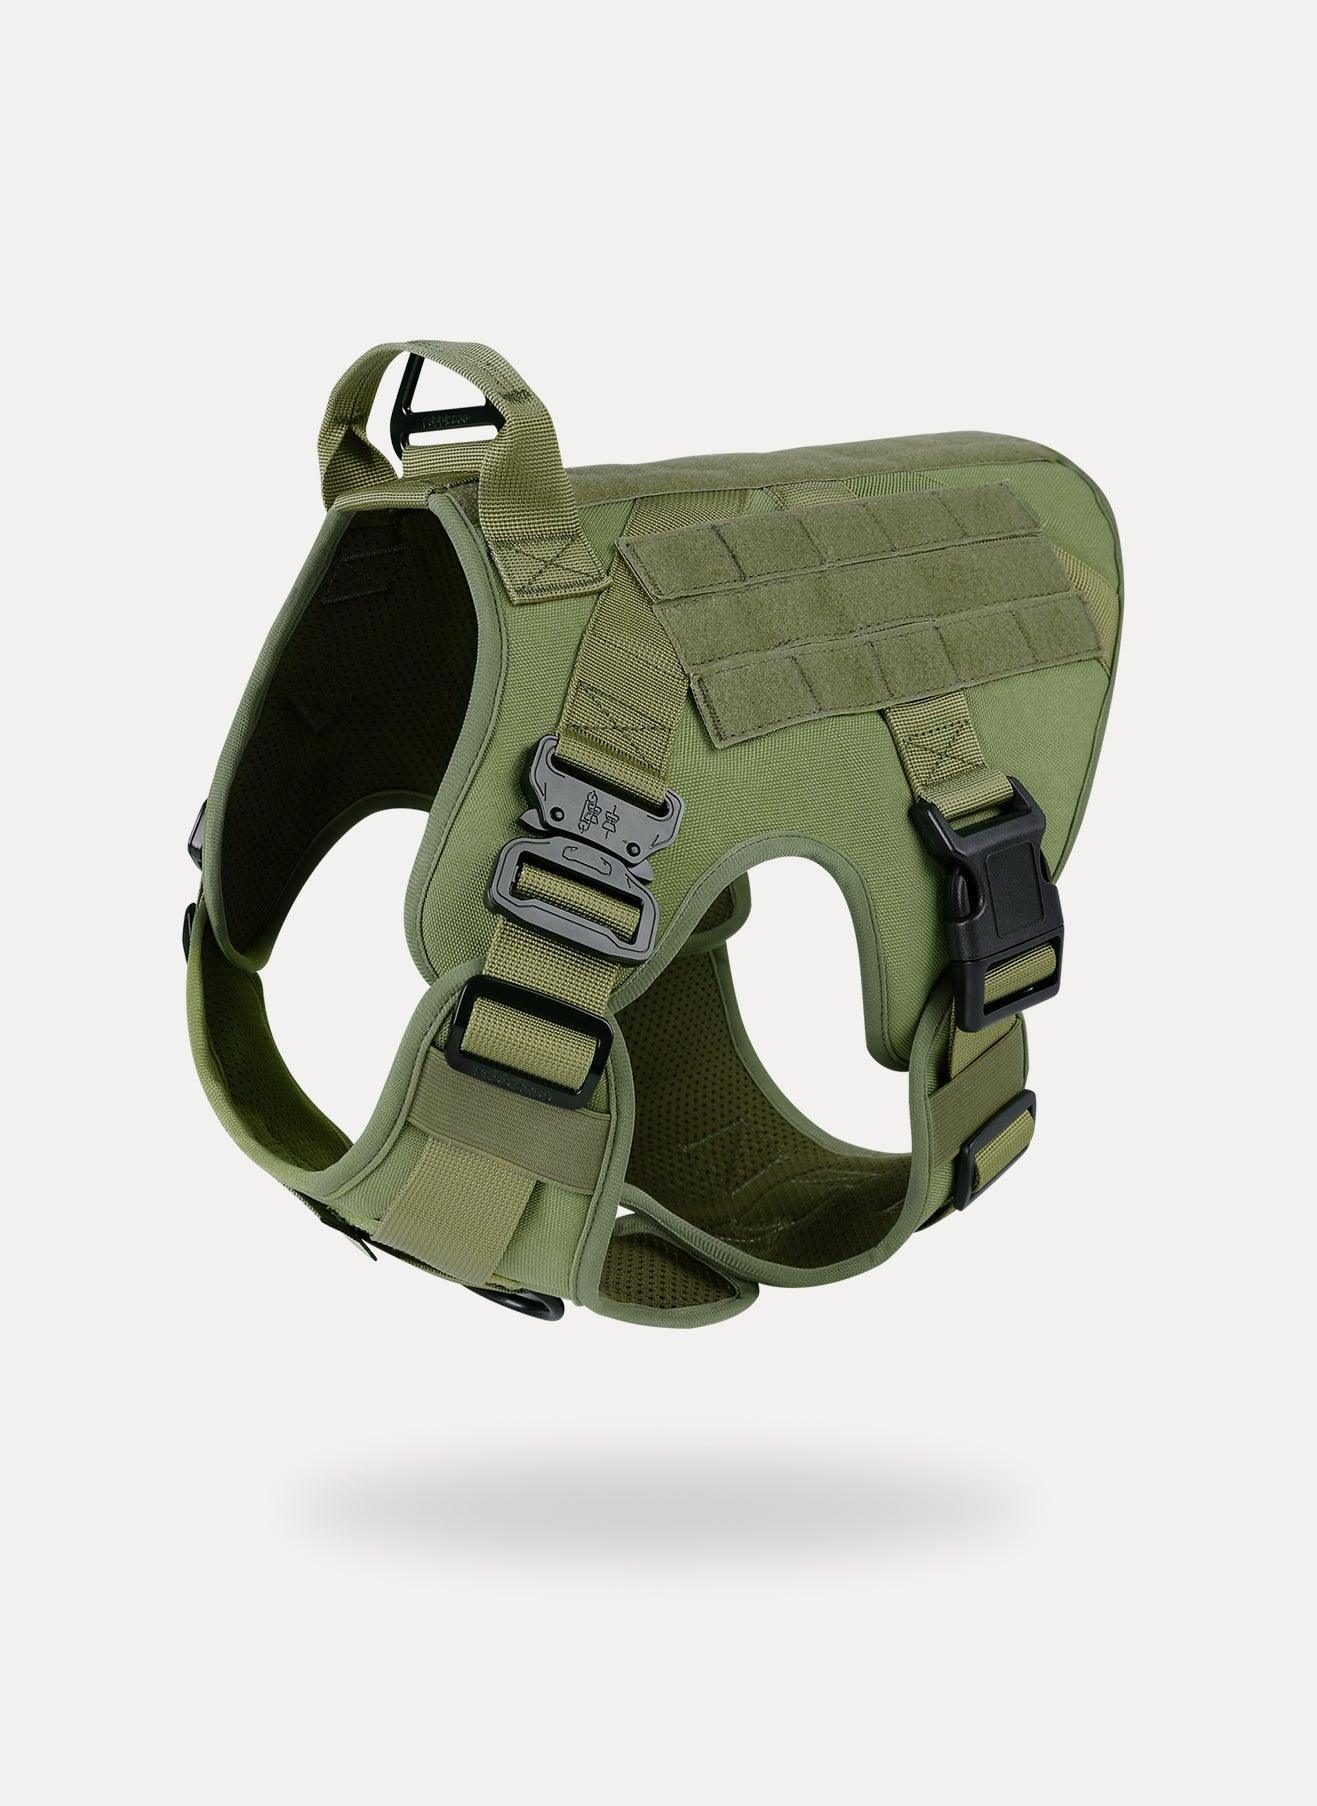
1. Confirm the exact model and size
- Measure the lower neck and widest chest while the dog is standing.
- Use the chart for the exact harness model.
- Do not choose from body weight alone.
- If between sizes, compare the adjustment ranges and body shape instead of automatically sizing up.
Start with the Rabbitgoo measuring guide, then check the product page. A harness from another series may fit differently even when the size label is the same.
2. Put the harness on in the correct orientation
- The back panel and handle face upward.
- The chest panel rests over the breastbone rather than the throat.
- Each leg is in the intended opening.
- No strap is twisted.
- Matching left and right straps begin at similar lengths.
A harness worn backward or with crossed straps may still buckle but will not distribute pressure or resist movement as designed.
3. Inspect every closure and connection
- Listen and feel for each buckle to close fully.
- Check that hair, clothing, or debris is not trapped.
- Press any lockable buckle into the locked position.
- Secure hook-and-loop panels across their intended contact area.
- Inspect the leash snap and attach it to the intended D-ring.
- Look for worn stitching, cracks, bent hardware, or damaged webbing.
Replace damaged equipment rather than testing it outdoors.
4. Run the stationary fit check
With the dog standing naturally, slide two fingers flat beneath the main straps. The harness should feel snug without digging in. Center the chest and back panels, then check clearance behind both front legs.
The two-finger rule is not the final test. Follow five complete harness fit checks for neck opening, chest position, girth, leg clearance, and movement.
5. Watch normal movement
In a closed indoor space, ask the dog to:
- walk in a straight line;
- turn left and right;
- sit and stand;
- lower the head;
- take several controlled backward steps.
Stop if the chest panel enters an armpit, the back panel rotates far from the spine, a leg enters another opening, or the neck opening travels toward the head.
6. Test gentle reverse pressure
Attach the leash and keep the test calm. Apply only enough steady tension to observe what happens as the dog shifts backward one or two steps. Do not pull hard or continue if the harness begins to slip.
Watch for three warnings:
- the neckline opens over the shoulders;
- an elbow starts to enter the chest or neck opening;
- the entire harness is drawn forward while the body moves backward.
If any warning appears, stop and read Why Dogs Back Out of Harnesses before going outside.
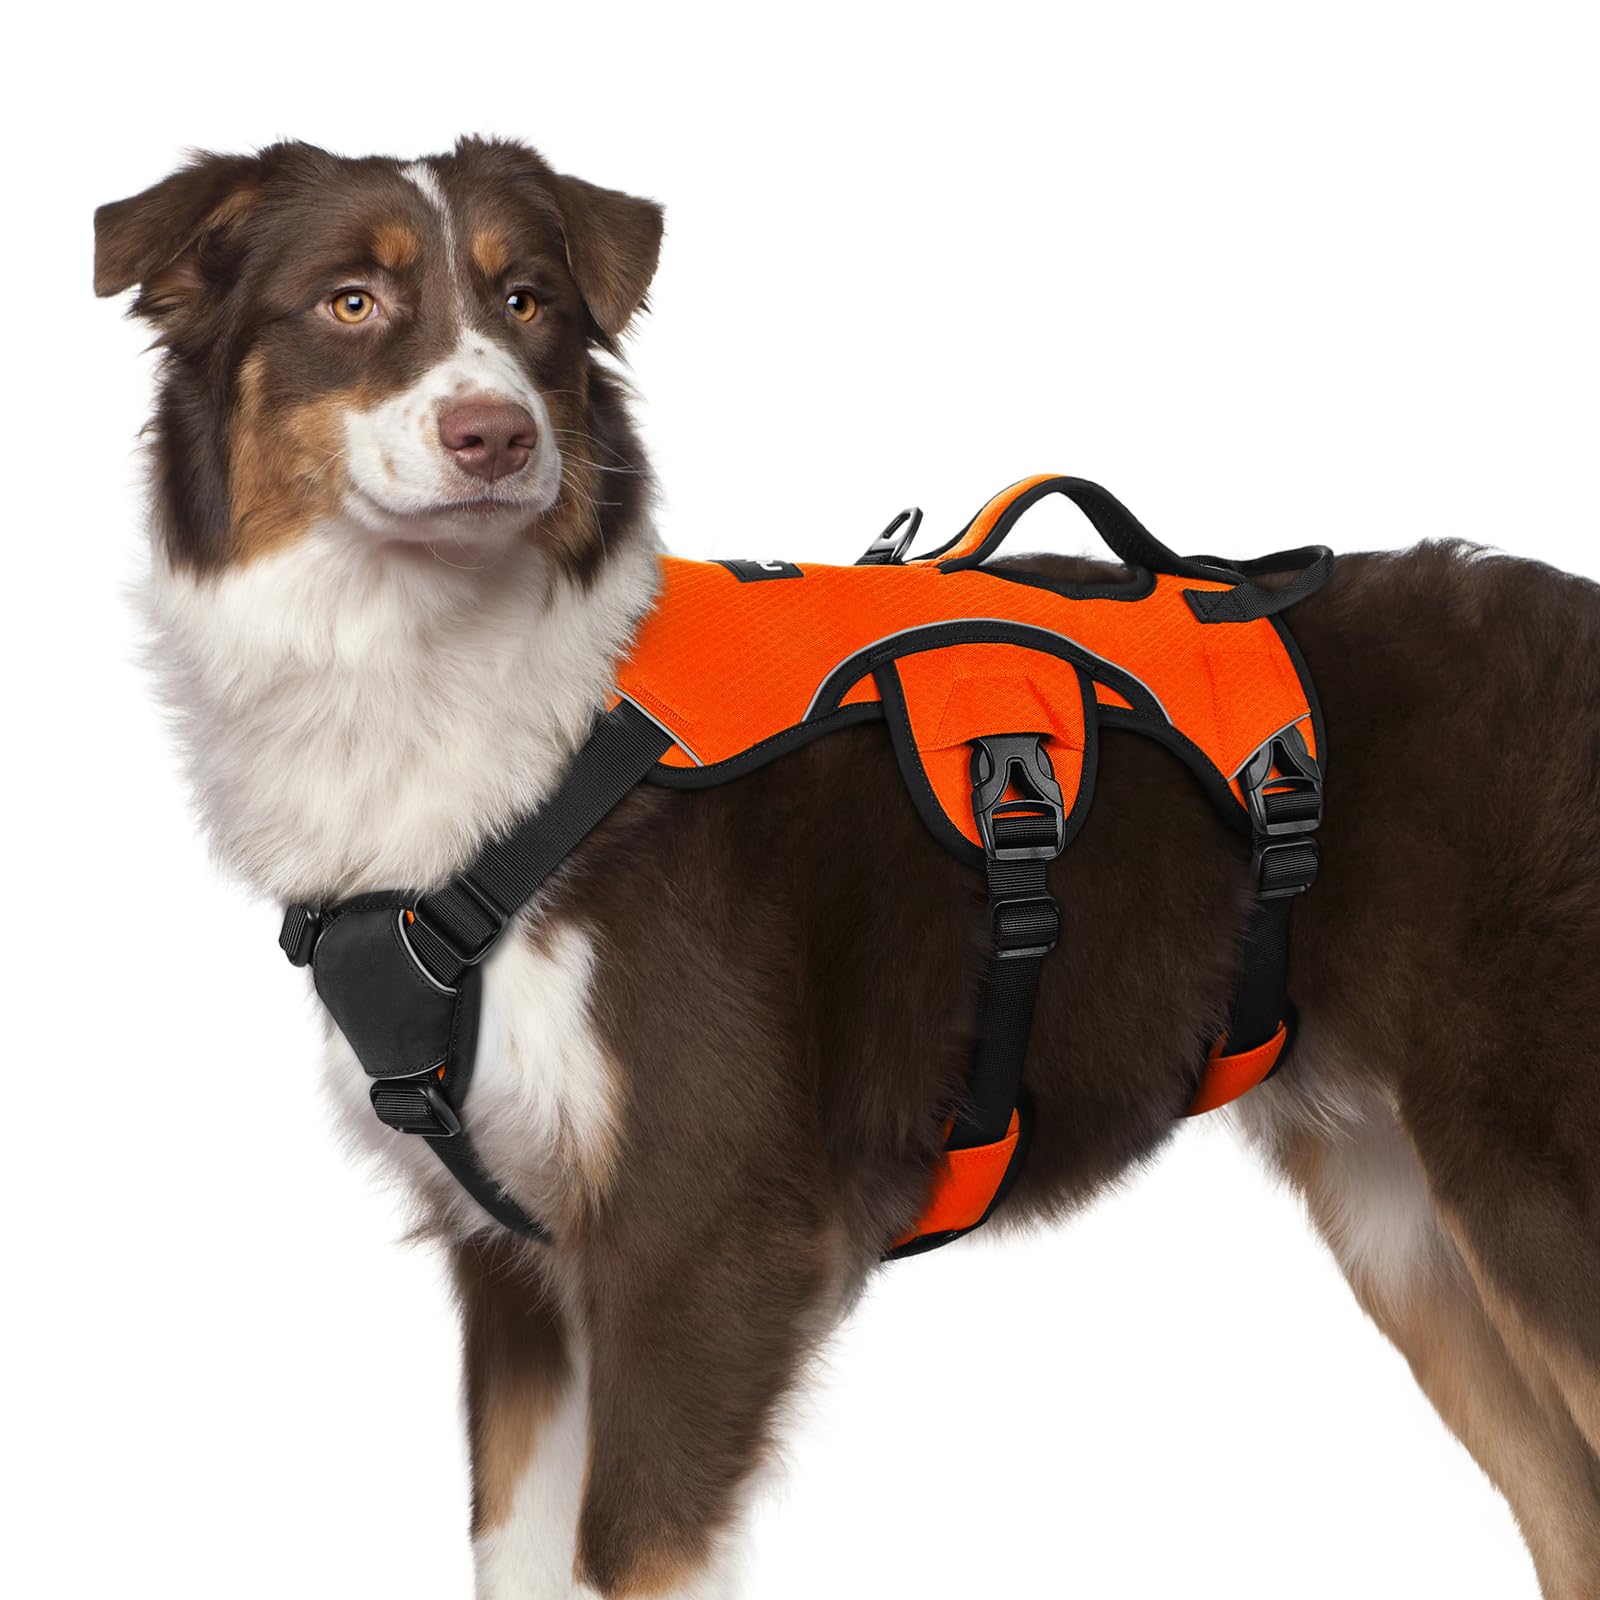
A third belly strap can add coverage, but the individual neck and girth settings still need to be checked on the dog.

7. Match the leash point to the walk
Use the front attachment when you want more steering during focused leash practice and the back attachment for straightforward connection during relaxed walking, if those uses match your harness instructions and dog. A front point can rotate a loose harness, so verify centering first.
Compare the options in Front-Clip vs. Back-Clip Dog Harnesses. Remember that a no-pull feature supports training; it does not replace it.
8. Rehearse your response to backing up
When a dog becomes frightened and retreats, continuing to pull forward can increase opposing pressure. Practice moving closer to create leash slack, turning sideways, and guiding the dog toward you with a familiar cue. Manage distance from triggers rather than testing the limits of the harness.
9. Make the first walk intentionally boring
- Start at a quiet time in a familiar location; this is not the day to test the busiest trail.
- Keep the first session short.
- Avoid narrow exits, heavy traffic, and off-leash dogs.
- Bring high-value rewards.
- Stay close enough to reduce tension quickly.
- Do not attach the leash and leave the dog unattended.
10. Recheck after five minutes
Padding, fur, and webbing settle once the dog starts moving. Pause somewhere safe after five minutes and check the neckline, girth, panels, buckles, and front-leg clearance again. Repeat the full check after washing or storage, and whenever a puppy grows or an adult dog’s coat or weight changes.
When to choose another size or shape
Do not solve every warning by tightening. Choose another option if:
- the neck is secure only when the chest is restrictive;
- the chest fits only when the neck gapes;
- all adjusters sit at an extreme;
- the panel cannot remain centered;
- the dog cannot move normally;
- backward movement repeatedly creates an escape opening.
Use the Rabbitgoo Dog Harness Size & Wear Guide to compare series, or browse Rabbitgoo dog harnesses and walking gear.
Escape-risk checklist FAQ
Is a three-strap harness always safer?
An additional body strap can improve security for some dogs, but only when the design fits and every strap is adjusted correctly.
Should I use two leashes?
Extra connections can add complexity and tangling. Use only arrangements that are safe for your dog and compatible with the product instructions. For severe escape risk, seek guidance from a qualified trainer.
How often should I repeat the checklist?
Repeat a short version before each walk and the full routine after sizing, adjustment, washing, growth, or any escape attempt.