

RG Harness 101: Mastering the 4-Point Adjustment System
Most Rabbitgoo harnesses feature a versatile 4-point adjustment system designed to create a "custom fit" for any dog's body. In this guide, we’ll show you how to master these sliders to ensure your dog stays secure, comfortable, and adventure-ready.
Before You Start: The RG Adjustment Logic
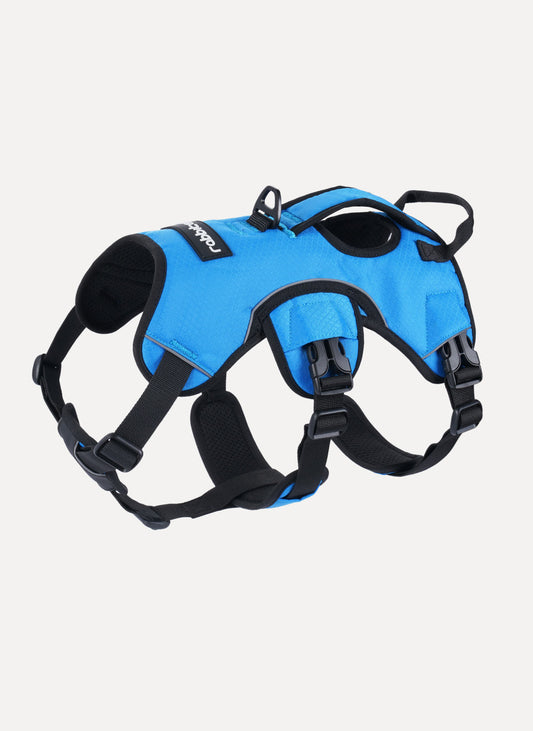
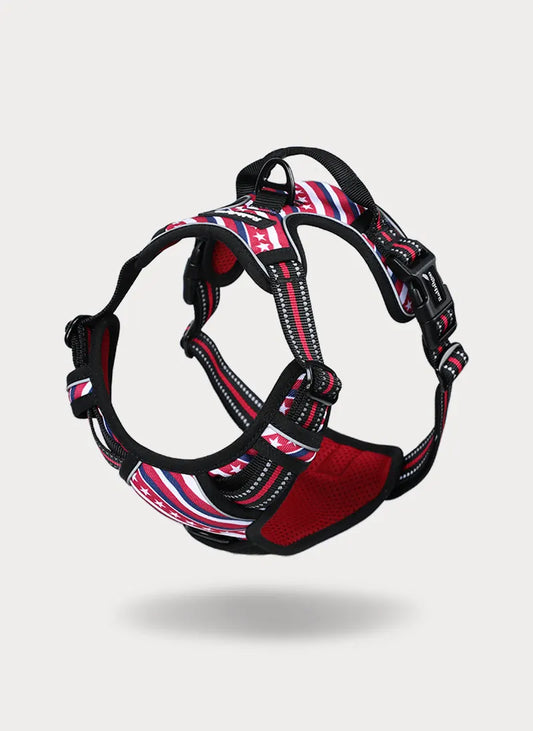
Almost every Rabbitgoo harness (including our ControlPro No Pull, Mega Tactical, Stay Guard Escape-Proof series, and Uplift Pro Series) is equipped with four adjustable slide buckles—two on the neck and two on the chest.
The Golden Rule of Symmetry
Always adjust the sliders on both sides equally. If you only adjust one side, the harness will tilt, reducing both comfort and safety. Think of it like balancing scales; symmetry is the key to a stable fit.
Quick & Easy Fitting for MiniFit & EasyGo
While our 4-point guide covers most models, the MiniFit and EasyGo series are designed for even faster fitting.
- MiniFit (Small Dog Series): Features a simple Step-in design. Just have your pup step in, align the Velcro evenly for a snug fit, and click the safety buckle.
- EasyGo Series: Designed for a One-click fit. Just slide the harness over your dog's head, align the Velcro, and secure the buckle. Simple as that!
Step-by-Step Guide to Adjusting the Rabbitgoo Dog Harness
Now that you understand the logic behind our 4-point system, it’s time to put that knowledge into action. The key to a professional fit isn’t just pulling straps tight—it’s about a strategic, step-by-step approach that moves from a "loose start" to a "tailored finish." Follow this three-stage process to eliminate shifting and ensure your dog’s harness feels like a second skin.
Step 1: The "Loose Start" & Fitting Preparation
Before your dog wears the harness, the secret to a stress-free fit is the Pre-Fit. Never try to force a tight harness onto a dog; instead, start loose and customize the fit once it's on.
- Loosen All Straps: Slide all four adjustment buckles to their loosest position. This ensures the harness slides on easily without startling your pup.
- The Entry: Gently guide your dog’s head through the neck opening (or have them step in, depending on the series) and secure the chest buckles.
- Initial Alignment: Center the chest piece and the back D-ring. At this stage, the harness will look very loose—this is exactly what we want.
Step 2: Pro-Level Adjustment
Now that the harness is on, we will eliminate the "Red Flags" by tightening the straps symmetrically.
Pro Tip: The Arch Technique
To adjust with ease, don't pull the strap flat. Instead, form an arch (as shown in the red highlights above) by lifting the strap through the slider. This releases the tension, allowing you to slide the buckle to your desired length in seconds!

A. The Neck Adjustment
The Goal: The harness should sit firmly at the base of the neck, not sagging onto the shoulders.
The Logic:
- To Lengthen: Slide the buckle forward (toward the chest). The closer the slider is to the chest, the longer the neck girth becomes.
- To Shorten: Slide the buckle backward (toward the back). Moving the slider closer to the back will shorten the neck fit.
B. The Chest Adjustment
The Goal: Secure the torso while maintaining balance on both sides.
The Logic:
- To Shorten: Move the slider closer to the side buckle. The more "excess strap" you see, the tighter and shorter the chest girth will be.
- To Lengthen: Move the slider closer to the side buckle. As the excess strap length decreases, the chest girth expands to provide a wider, more spacious fit.
Step 3: The "Two-Finger" Reality Check
Once you’ve finished your tweaks, look for these signs to confirm the perfect fit. If you see these "Loose Fit" red flags, tighten slightly more:
The Gap Test: You should be able to fit exactly two fingers (and no more!) between the straps and your dog’s body.
Stability Check: Give the back handle a gentle tug. If the harness shifts or rotates significantly, it’s still too loose.
Movement Watch: If the D-ring is hanging off-center or the back piece rotates to the side while your dog walks, the side-to-side tension is uneven.
The Scratch Test: If your dog is scratching at the straps, they might be too tight or rubbing against the armpits. Re-check the "Two-Finger" space.
FAQs
Q: "My dog keeps backing out of the harness!
Double-check the Neck Adjustment. If the neck is too loose, the harness can slip over the head. Ensure the "Two-Finger Rule" is strictly followed.
Q: "The harness is perfectly adjusted, but it still tilts!"
Check the symmetry. Even a 1cm difference between the left and right sliders can cause a tilt during movement.
Q: "The straps keep loosening over time."
After adjusting, make sure to flatten the "arch" or loop completely. A flat, taut strap locks the slider in place.
Final Thoughts
A well-fitted harness is the foundation of every safe adventure. By mastering the 4-point adjustment, you’re not just buying a product—you’re providing your dog with a custom-tailored suit that supports their every move.
Next Guide in RG Harness 101:
Now that your harness fits perfectly, how do you keep it looking and smelling fresh? Stay tuned for our guide on Harness Maintenance & Cleaning Tips!
